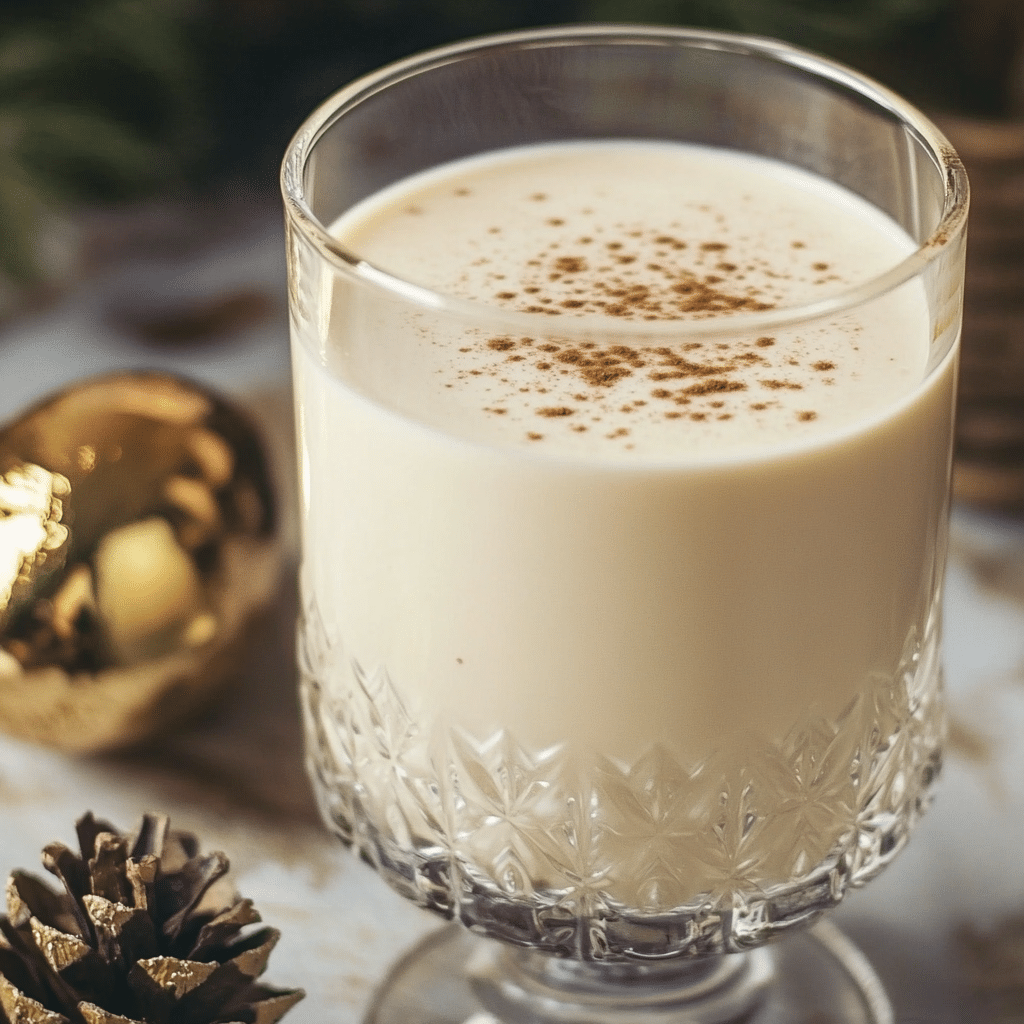
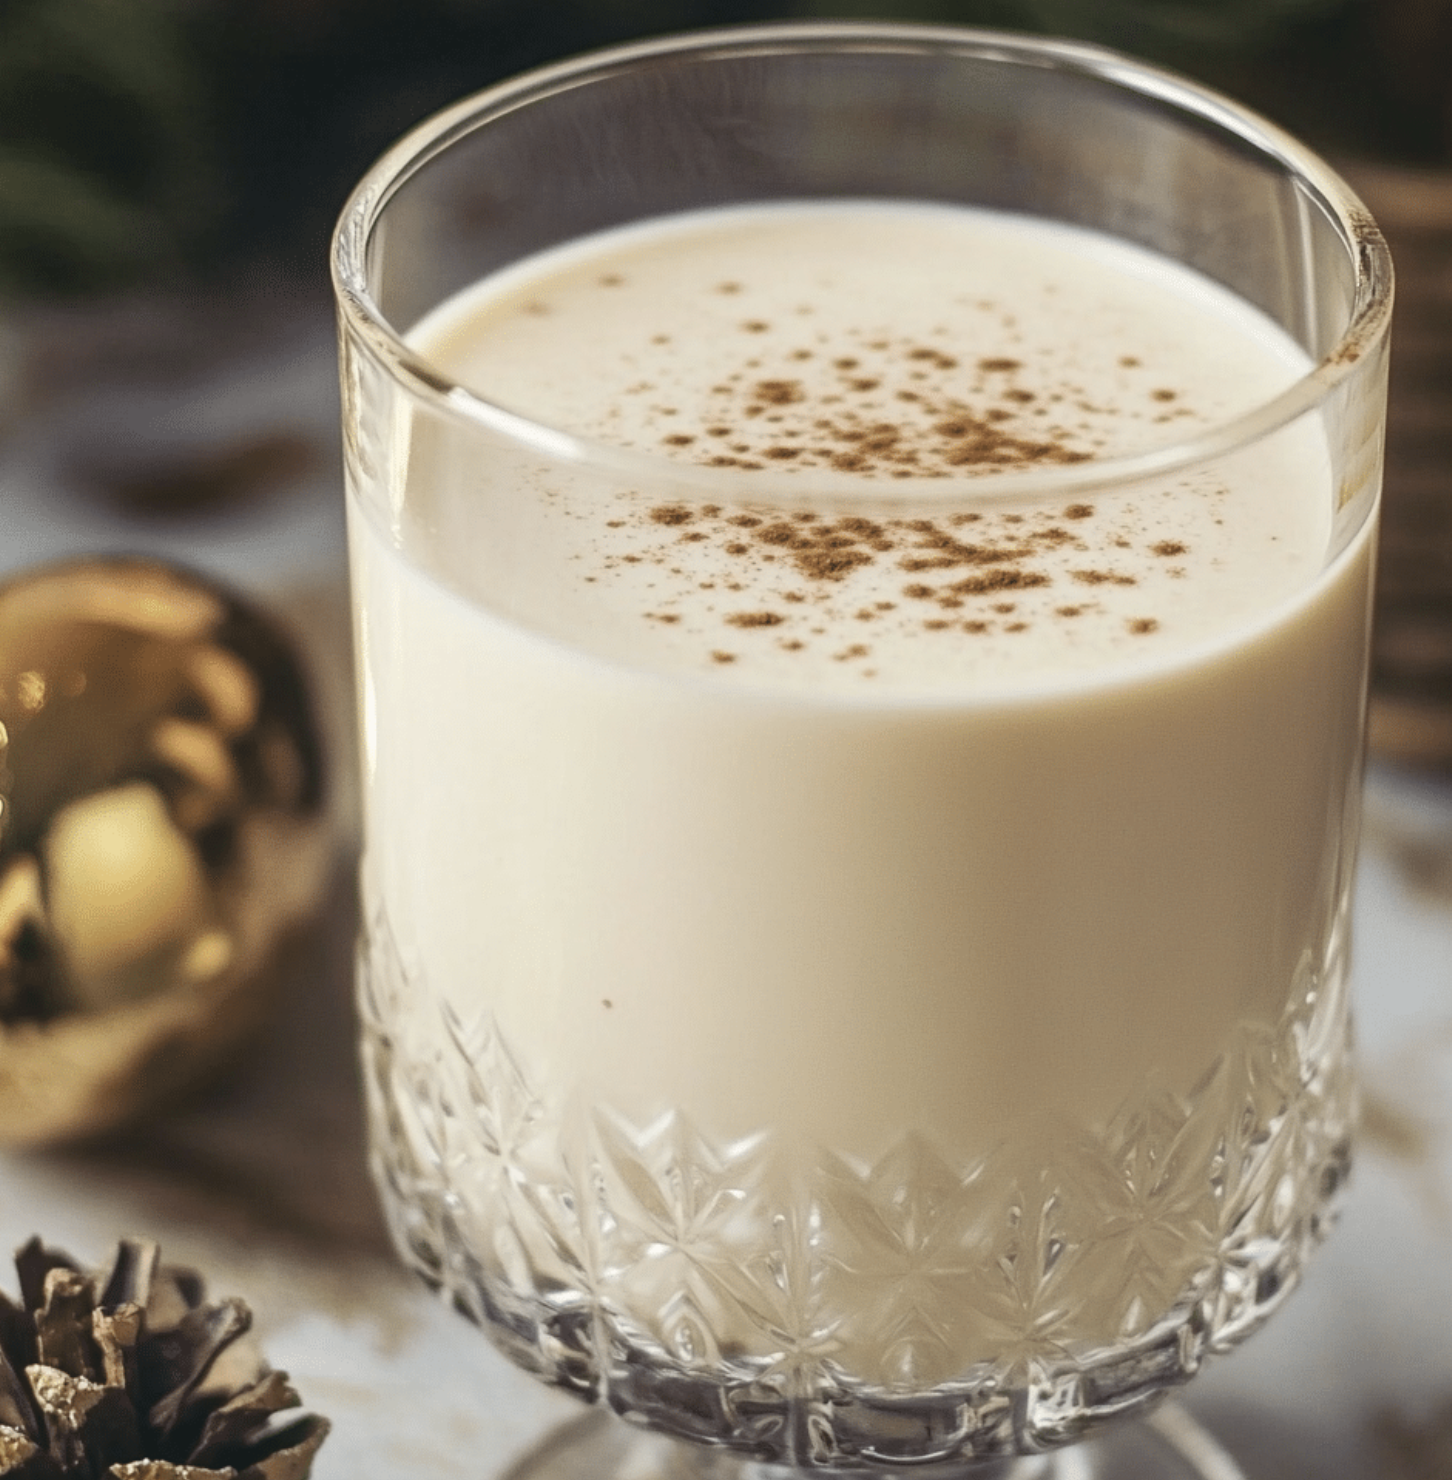
Eggnog is a beloved holiday drink that has been a part of Christmas celebrations for centuries. With its rich, creamy texture and comforting blend of spices, homemade eggnog takes this festive drink to the next level. Whether you’re serving it chilled or spiked with rum or bourbon, this homemade eggnog recipe is sure to impress your guests. Here’s everything you need to know to make this classic holiday drink from scratch!
Ingredients for Homemade Eggnog
To make a delicious batch of homemade eggnog, you’ll need the following ingredients:
- 6 large eggs (separated)
- 1 cup of granulated sugar
- 2 cups of whole milk
- 1 cup of heavy cream
- 1 teaspoon of vanilla extract
- 1/2 teaspoon of ground nutmeg (plus extra for garnish)
- 1/4 teaspoon of ground cinnamon (optional)
- 1/4 cup of rum or bourbon (optional, for a spiked version)
- A pinch of salt
Instructions for Making Homemade Eggnog

- Prepare the Egg Yolks: In a large bowl, whisk together the egg yolks and sugar until the mixture becomes smooth and pale yellow. This should take about 2-3 minutes.
- Heat the Milk and Cream: In a saucepan over medium heat, combine the whole milk, heavy cream, vanilla extract, ground nutmeg, and ground cinnamon. Stir occasionally until the mixture is warm but not boiling. Be sure to keep an eye on it to prevent it from scalding.
- Temper the Egg Yolks: Gradually pour about 1/2 cup of the warm milk mixture into the egg yolk mixture, whisking constantly to prevent the eggs from scrambling. Once the yolks are tempered, slowly pour the egg yolk mixture back into the saucepan with the remaining milk mixture, whisking continuously.
- Cook the Eggnog: Return the saucepan to the stove and cook the eggnog over medium-low heat, stirring constantly, until it thickens to the consistency of heavy cream (about 5-7 minutes). Be patient and avoid high heat, as you don’t want to curdle the eggnog.
- Cool and Add Alcohol: Once the eggnog has thickened, remove it from the heat and let it cool to room temperature. If you’re making a spiked version, stir in the rum or bourbon at this point.
- Whip the Egg Whites: In a separate bowl, beat the egg whites and a pinch of salt until soft peaks form. Carefully fold the whipped egg whites into the cooled eggnog mixture, giving it a light and frothy texture.
- Chill and Serve: Refrigerate the homemade eggnog for at least 2-3 hours to allow the flavors to meld together. Serve chilled in glasses, and garnish with extra ground nutmeg or a cinnamon stick for a festive touch.
Tips for the Best Homemade Eggnog
- Use Fresh Eggs: Fresh eggs are essential for a smooth, creamy texture. If you’re concerned about using raw eggs, you can pasteurize them by cooking the eggnog mixture to 160°F (71°C).
- Make it Vegan: For a dairy-free or vegan version, substitute the milk and cream with almond milk or coconut milk, and use an egg replacer like aquafaba or a commercial egg substitute.
- Spices: Adjust the nutmeg and cinnamon to your taste. You can even add a pinch of clove for extra warmth.
- Alcohol-Free Version: If you prefer to make eggnog without alcohol, simply omit the rum or bourbon and enjoy the rich, non-alcoholic flavor.
Storage and Shelf Life
Homemade eggnog can be stored in an airtight container in the refrigerator for up to 3 days. If you’ve added alcohol, it can last slightly longer due to the preservative properties of alcohol. Always give it a good stir before serving, as it may separate as it sits.
Why Make Homemade Eggnog?
Homemade eggnog is much richer and more flavorful than store-bought versions, and it gives you the opportunity to adjust the sweetness, spices, and alcohol content to suit your preferences. It’s perfect for holiday parties, cozy evenings by the fire, or as a special treat for family and friends. Plus, it’s a great way to showcase your culinary skills and impress your guests!
Conclusion
Nothing says “holiday season” like a glass of homemade eggnog. This creamy, spiced beverage is a delicious tradition that brings warmth and joy to any celebration. Whether you enjoy it spiked or non-alcoholic, this homemade eggnog recipe is sure to become a holiday favorite in your home. So, gather your ingredients and get ready to sip on the ultimate festive drink!
Serving Tips for Homemade Eggnog
- Chill for Maximum Flavor: Homemade eggnog is best served chilled, so make sure to refrigerate it for at least 2-3 hours before serving. The flavors will meld and improve as it cools.
- Garnish for Extra Festivity: Garnish each glass of eggnog with a dusting of ground nutmeg or cinnamon. You can also add a cinnamon stick or a star anise for an elegant touch.
- Serve in a Punch Bowl: For holiday parties, serve eggnog in a large punch bowl, allowing guests to ladle themselves a serving. For an extra festive touch, you can float a few cinnamon sticks or a few star anise in the bowl for visual appeal.
- Pair with Snacks: Eggnog pairs wonderfully with rich, spicy holiday snacks like gingerbread cookies, shortbread, or spiced nuts. These complementary flavors enhance the experience.
- Serve in Glassware: For a classic presentation, serve homemade eggnog in a traditional punch cup, mug, or glass. A thick, sturdy glass will help keep the eggnog cool for longer.
- Customize the Alcohol: If making spiked eggnog, offer your guests the option to add rum, bourbon, or brandy to their glasses, so everyone can adjust to their preferred strength.
Storage Tips for Homemade Eggnog
- Refrigeration: Store leftover homemade eggnog in an airtight container in the refrigerator. It can last up to 3 days if kept properly chilled. If you’ve added alcohol, the shelf life may extend slightly, as alcohol acts as a preservative.
- Separation is Normal: Homemade eggnog may separate slightly after being refrigerated. Simply give it a good stir before serving to re-incorporate the ingredients.
- Freezing: Although freezing eggnog isn’t typically recommended due to its creamy texture, if you have a large batch left over, you can freeze it for up to 1 month. When ready to serve, thaw it in the refrigerator and stir well. Note that the texture may change slightly after freezing.
- Don’t Store for Too Long: Since homemade eggnog contains raw eggs, it’s best to consume it within a few days. After the 3-day mark, the texture and flavor may begin to deteriorate.
- Storage for Alcohol-Free Versions: If you made a non-alcoholic version, the eggnog might spoil more quickly, so aim to consume it within 2 days for the best taste and safety.
By following these serving and storage tips, you’ll ensure that your homemade eggnog stays fresh, flavorful, and festive for all your holiday celebrations!
1. Can I make eggnog without eggs?
Yes! You can make a vegan or egg-free version of eggnog by using an egg replacer like aquafaba (the liquid from canned chickpeas) or commercial egg substitutes. For the creamy texture, you can substitute dairy with almond milk, coconut milk, or oat milk. Be sure to adjust the sweetness and spices to taste.
2. How can I make homemade eggnog thicker?
To make your eggnog thicker, cook the milk and egg mixture for a little longer until it reaches a custard-like consistency. Be sure to stir constantly to avoid curdling. You can also add a little more heavy cream for extra richness and thickness. If you’re making a non-alcoholic version, reduce the milk slightly to help achieve a thicker texture.
3. How long does homemade eggnog last in the fridge?
Homemade eggnog can be stored in the refrigerator for up to 3 days. If you’ve added alcohol, it may last a little longer due to the preservative properties of alcohol. Always store it in an airtight container, and be sure to give it a good stir before serving, as it may separate over time.
4. Can I make eggnog in advance for a party?
Absolutely! You can make homemade eggnog up to 2-3 days in advance. Just store it in the refrigerator, and give it a good stir before serving. If you’re serving a large group, consider making it the night before so the flavors have plenty of time to meld. If adding alcohol, it can be mixed in ahead of time, or you can allow guests to add it to taste.
PrintHomemade Eggnog
Rich, creamy, and perfectly spiced, this homemade eggnog is a festive holiday classic. Enjoy it as a cozy treat or serve it as a crowd-pleaser at your next holiday gathering. It’s easy to make and tastes far better than store-bought!
- Prep Time: 20 minutes
- Cook Time: 2 hours
- Total Time: 2 hours 20 minutes
- Category: Beverage, Holiday
- Cuisine: American
Ingredients
Serves 6-8:
- For the eggnog:
- 6 large egg yolks
- 3/4 cup (150 g) granulated sugar
- 2 cups (480 ml) whole milk
- 1 cup (240 ml) heavy cream
- 1/2 teaspoon ground nutmeg (plus more for garnish)
- 1/2 teaspoon ground cinnamon
- 1 teaspoon vanilla extract
- 1/2 cup (120 ml) bourbon, rum, or brandy (optional)
- For garnish:
- Whipped cream
- Ground nutmeg or cinnamon sticks
Instructions
- Whisk the egg yolks and sugar:
- In a medium bowl, whisk the egg yolks and sugar together until the mixture is light and creamy.
- Heat the milk mixture:
- In a saucepan over medium heat, combine the milk, heavy cream, nutmeg, and cinnamon. Heat until the mixture is hot but not boiling, about 3-5 minutes.
- Temper the eggs:
- Slowly pour a small amount of the hot milk mixture into the egg yolks, whisking constantly to prevent the eggs from cooking. Gradually add more hot milk to the egg mixture, whisking continuously.
- Cook the eggnog:
- Pour the tempered egg mixture back into the saucepan. Cook over medium heat, stirring constantly, until the mixture thickens slightly and coats the back of a spoon (about 160°F / 70°C), about 3-5 minutes.
- Add vanilla and optional alcohol:
- Remove from heat and stir in the vanilla extract and bourbon, rum, or brandy, if using.
- Chill and serve:
- Transfer the eggnog to a pitcher or container and refrigerate for at least 2 hours, or until fully chilled.
- Serve cold with whipped cream and a sprinkle of nutmeg on top.
Notes
- For a non-alcoholic version, omit the alcohol entirely.
- If you prefer a thicker eggnog, add an extra 1/2 cup of heavy cream or reduce the amount of milk.
- Store in an airtight container in the refrigerator for up to 3 days. Stir before serving, as it may separate slightly over time.


