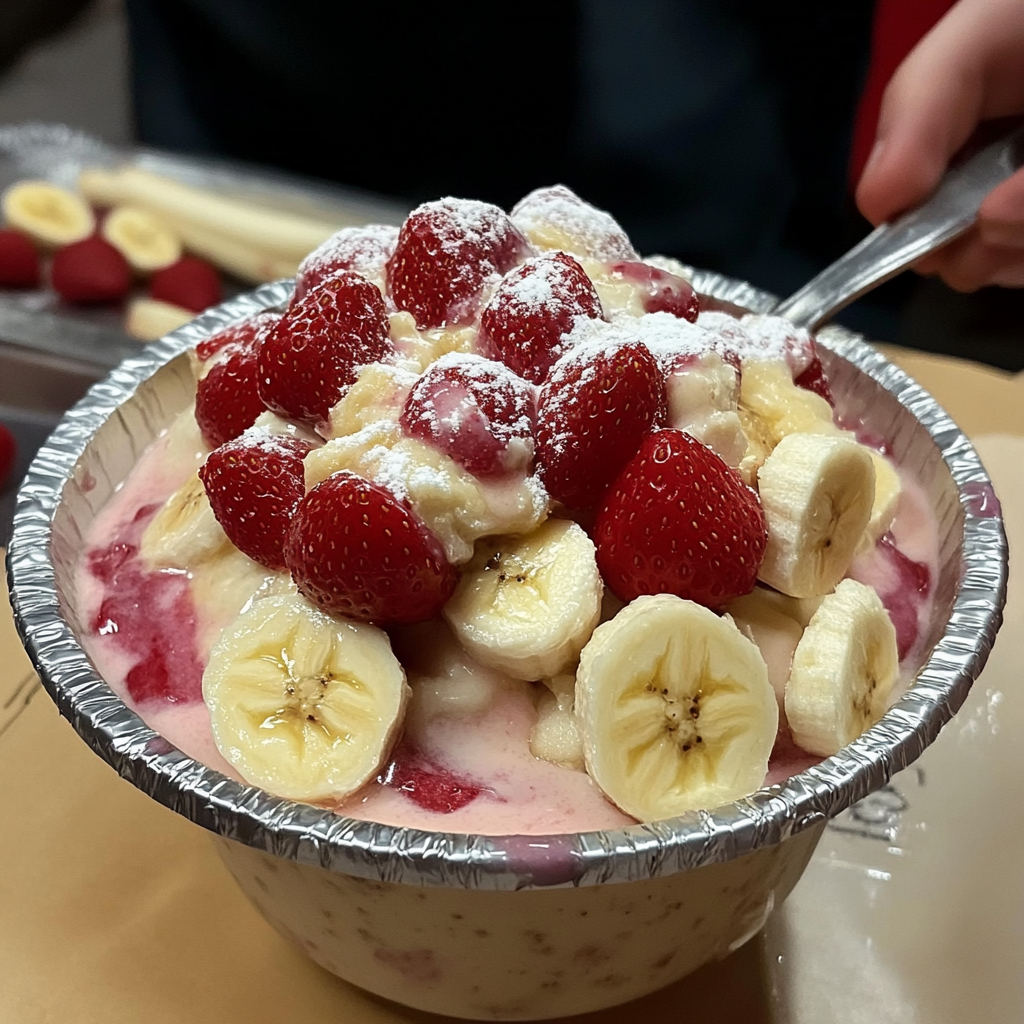
Strawberry Banana Pudding is a delightful, creamy dessert that layers fresh strawberries, sweet bananas, and luscious vanilla pudding. Topped with whipped cream and crunchy vanilla wafers, this dessert is a crowd-pleaser that’s perfect for gatherings, holidays, or as a refreshing treat anytime.
Why You’ll Love This Recipe
- A no-bake dessert that’s quick and easy to assemble.
- Perfect balance of fruity, creamy, and crunchy textures.
- Great for make-ahead preparation—flavors get better as it chills.
- Customizable with different fruits or toppings.
- Light, refreshing, and perfect for warm days.
Ingredients
(Tip: You’ll find the full list of ingredients and measurements in the recipe card below.)
- Instant vanilla pudding mix
- Milk (to prepare the pudding)
- Fresh strawberries, hulled and sliced
- Ripe bananas, sliced
- Whipped cream (store-bought or homemade)
- Vanilla wafers or graham crackers
- Optional: Fresh mint leaves for garnish
Directions

- Prepare the Pudding:
- In a mixing bowl, whisk together the pudding mix and milk according to the package instructions. Refrigerate for 5-10 minutes to set.
- Layer the Dessert:
- In a trifle dish, serving bowl, or individual glasses, start with a layer of vanilla wafers at the bottom.
- Add a layer of sliced bananas and strawberries.
- Spoon a layer of pudding over the fruit.
- Repeat the Layers:
- Continue layering wafers, bananas, strawberries, and pudding until all ingredients are used, finishing with a pudding layer on top.
- Top with Whipped Cream:
- Spread or pipe whipped cream over the top layer. Garnish with extra strawberry slices, banana slices, or crushed wafers for decoration.
- Chill:
- Cover and refrigerate for at least 2 hours, or up to 8 hours, to allow the flavors to meld.
- Serve:
- Serve chilled and enjoy the creamy, fruity goodness!
Servings and Timing
- Servings: 6-8
- Prep Time: 15 minutes
- Chill Time: 2 hours
- Total Time: 2 hours and 15 minutes
Variations
- Chocolate Twist: Add a layer of chocolate pudding or drizzle melted chocolate between layers.
- Healthier Option: Use low-fat pudding, skim milk, and reduced-fat wafers.
- Tropical Version: Add pineapple chunks or coconut flakes for a tropical flair.
- Crunchy Layers: Substitute vanilla wafers with shortbread cookies or granola.
- Gluten-Free: Use gluten-free cookies or crackers.
Storage
- Refrigeration: Store covered in the refrigerator for up to 3 days. Best consumed within 24 hours for optimal freshness of the fruit.
- Freezing: Not recommended, as the bananas and pudding don’t freeze well.
FAQs
1. Can I use homemade pudding instead of instant?
Yes, homemade vanilla pudding works beautifully and adds a rich flavor.
2. How do I prevent bananas from browning?
Toss banana slices in lemon or pineapple juice before layering to keep them fresh-looking.
3. Can I make this dessert in advance?
Yes, it’s best made a few hours ahead to allow the flavors to meld.
4. Can I use whipped topping instead of whipped cream?
Yes, whipped topping like Cool Whip is a convenient substitute.
5. What other fruits can I use?
Try blueberries, raspberries, or kiwi for variety.
6. How do I keep the wafers from getting soggy?
Layer the wafers just before serving if you prefer them crunchy, or embrace the softened texture for a classic pudding experience.
7. Can I make this dessert vegan?
Yes, use plant-based pudding, non-dairy milk, and coconut whipped cream.
8. Can I add nuts?
Chopped pecans, walnuts, or almonds make a great crunchy topping.
9. How do I serve this dessert?
Serve in a large trifle dish for sharing or in individual cups for portion control.
10. Can I replace vanilla wafers with ladyfingers?
Yes, ladyfingers add a delightful texture and work well as a substitute.
Conclusion
Strawberry Banana Pudding is a luscious, easy-to-make dessert that’s a guaranteed hit for any occasion. With its creamy layers, fresh fruit, and crunchy wafers, it’s a treat that both kids and adults will love. Whip up this simple recipe today for a delightful ending to your meal!
PrintStrawberry Banana Pudding
This strawberry banana pudding is a creamy, fruity dessert layered with fresh bananas, strawberries, vanilla pudding, and wafers. A perfect no-bake treat for any occasion, it’s easy to assemble and irresistibly delicious!
- Prep Time: 15 minutes
- Cook Time: 2 hours
- Total Time: 2 hours 15 minutes
- Yield: 6–8 servings 1x
- Category: Dessert
- Method: No-Bake
- Cuisine: American
Ingredients
- 1 box (3.4 oz/96g) instant vanilla pudding mix
- 2 cups cold milk
- 1 cup heavy cream, whipped (or 1 cup whipped topping)
- 2 large bananas, sliced
- 1 1/2 cups strawberries, sliced
- 1 box (12 oz) vanilla wafers (or graham crackers)
- Additional strawberries or bananas for garnish (optional)
Instructions
- Prepare the Pudding:
- In a medium bowl, whisk together the instant pudding mix and cold milk for 2 minutes. Let it set for 5 minutes in the refrigerator.
- Fold in Whipped Cream:
- Gently fold the whipped cream or whipped topping into the prepared pudding until well combined.
- Assemble the Layers:
- In a trifle dish, large bowl, or individual serving cups, start layering the ingredients:
- Begin with a layer of vanilla wafers.
- Add a layer of banana slices and strawberry slices.
- Spread a layer of the pudding mixture over the fruit.
- Repeat the layers until the dish is full, ending with a layer of pudding on top.
- In a trifle dish, large bowl, or individual serving cups, start layering the ingredients:
- Chill the Pudding:
- Cover the dish with plastic wrap and refrigerate for at least 2 hours to allow the flavors to meld and the wafers to soften.
- Garnish and Serve:
- Garnish with additional strawberry and banana slices, if desired. Serve chilled and enjoy!
Notes
- For added texture, sprinkle crushed vanilla wafers or graham crackers on top before serving.
- To prevent the bananas from browning, lightly toss them in lemon juice before layering.
- This dessert can be made up to a day in advance for the best flavor.

