
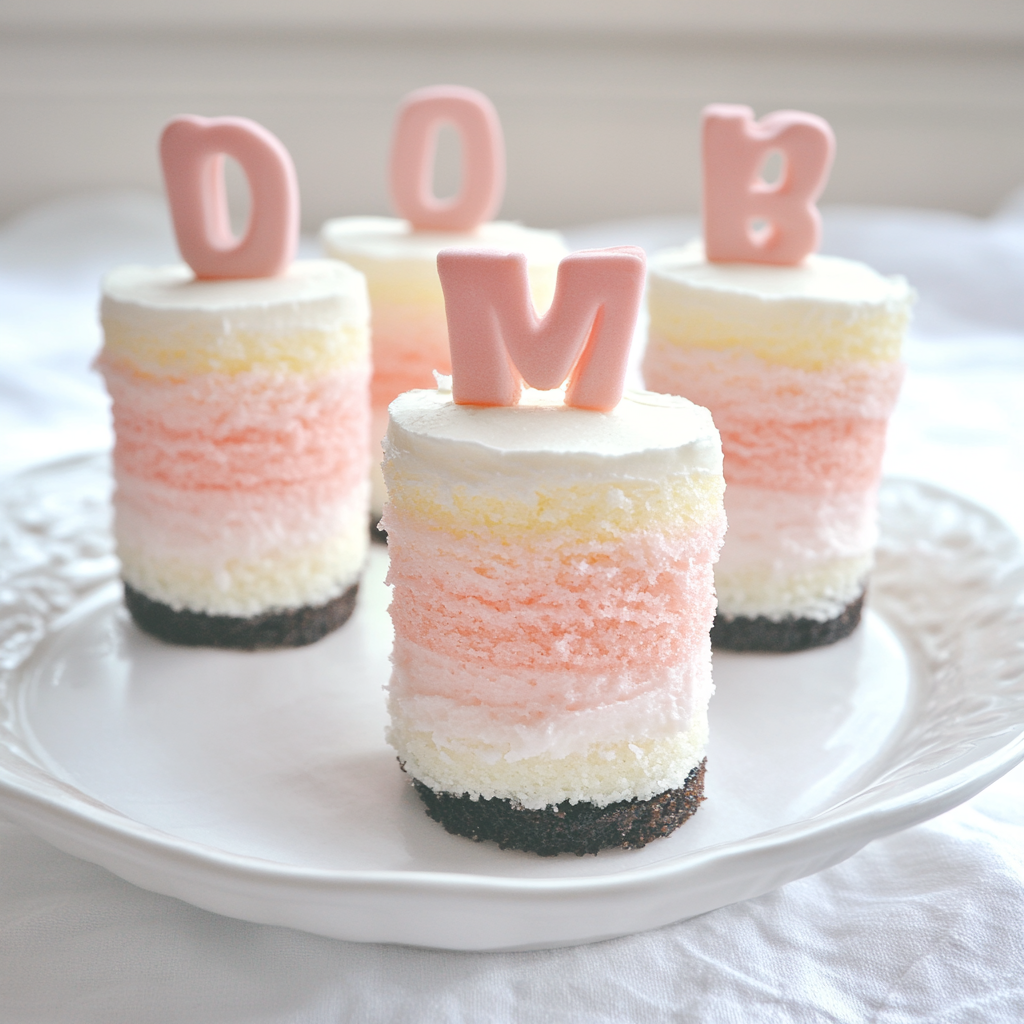
These Mini Ombre Cakes are elegant, layered desserts featuring soft, pastel-colored cake layers with a smooth buttercream frosting. Their stunning gradient effect makes them perfect for weddings, birthdays, baby showers, or any special occasion. Despite their impressive appearance, these cakes are easy to make and customizable in both color and flavor!
Why You’ll Love This Recipe
- Beautiful & Elegant – A gorgeous ombre effect that looks professional but is easy to achieve.
- Perfect for Special Occasions – Great for bridal showers, birthdays, or afternoon tea.
- Customizable Colors & Flavors – Use any color scheme or flavor combination to match your theme.
- Individual Servings – Mini cakes make serving simple and fun.
- Soft & Moist Cake – Made with buttermilk for a tender texture.
Ingredients
(Tip: You’ll find the full list of ingredients and measurements in the recipe card below.)
For the Cake Layers:
- All-purpose flour
- Baking powder
- Salt
- Unsalted butter (softened)
- Granulated sugar
- Eggs
- Vanilla extract
- Buttermilk
- Gel food coloring (in shades of your chosen color)
For the Buttercream Frosting:
- Unsalted butter (softened)
- Powdered sugar
- Heavy cream or milk
- Vanilla extract
- Gel food coloring (matching your cake layers)
For Decoration:
- Edible pearls or sprinkles
- Fresh flowers (optional)
- Gold dust or glitter (for a touch of elegance)
Directions
Step 1: Make the Cake Batter
- Preheat & Prepare Pans – Preheat oven to 350°F (175°C). Grease and line a large sheet cake pan or three 6-inch round pans.
- Mix Dry Ingredients – In a bowl, whisk together flour, baking powder, and salt.
- Cream Butter & Sugar – In a separate bowl, beat butter and sugar until light and fluffy.
- Add Eggs & Vanilla – Mix in eggs one at a time, then add vanilla extract.
- Incorporate Buttermilk & Dry Ingredients – Alternate adding the dry ingredients and buttermilk until fully combined.
Step 2: Create the Ombre Effect in the Batter
- Divide the Batter – Separate the batter evenly into three or four bowls.
- Color Each Portion – Add increasing amounts of gel food coloring to each bowl to create a gradient from light to dark.
- Bake the Layers – Pour each colored batter into separate pans or spread evenly in a sheet pan. Bake for 18-22 minutes or until a toothpick comes out clean.
- Cool Completely – Let the cakes cool before cutting and assembling.
Step 3: Prepare the Buttercream Frosting
- Beat the Butter – In a large bowl, beat butter until creamy.
- Add Powdered Sugar – Gradually mix in powdered sugar, then add vanilla and heavy cream to reach a smooth consistency.
- Divide & Color the Frosting – Divide frosting into bowls and tint each with increasing shades of gel food coloring to match the cake layers.
Step 4: Assemble the Mini Cakes
- Cut Cake Rounds – Use a round cutter to cut small cake circles from the baked layers.
- Stack the Layers – Place the darkest cake layer at the bottom, add a thin layer of frosting, and repeat with the lighter layers on top.
- Frost the Mini Cakes – Apply a crumb coat, chill for 10 minutes, then frost each cake with the ombre-colored buttercream.
Step 5: Decorate & Serve
- Add Finishing Touches – Decorate with edible pearls, gold dust, or fresh flowers.
- Chill & Serve – Let the cakes set in the fridge for 20 minutes before serving.
Servings and Timing
- Servings: 6-8 mini cakes
- Prep Time: 30 minutes
- Cook Time: 20 minutes
- Chill Time: 20 minutes
Variations
- Chocolate Ombre Cakes – Use cocoa powder to create a chocolate gradient.
- Flavored Ombre Cakes – Try adding strawberry, lemon, or almond extract to each layer for extra flavor.
- Gluten-Free Option – Use a gluten-free flour blend.
- Whipped Cream Frosting – Swap buttercream for a lighter whipped cream frosting.
Storage/Reheating
- Refrigeration: Store in an airtight container in the fridge for up to 4 days.
- Freezing: Freeze unfrosted cake layers for up to 2 months. Thaw before assembling.
- Serving Tip: Let the cakes sit at room temperature for 15 minutes before serving for the best texture.
FAQs
How do I get an even ombre effect?
Use the same amount of batter for each layer and gradually increase the food coloring intensity.
Can I make these into cupcakes?
Yes! Divide the batter into cupcake liners and bake for about 15-18 minutes.
What’s the best way to stack mini cakes evenly?
Use a serrated knife to trim the layers and ensure they are level.
Can I make these in advance?
Yes! Bake and freeze the cake layers ahead of time, then frost before serving.
What’s the best food coloring to use?
Gel food coloring works best because it provides vibrant color without thinning the batter.
How do I get smooth frosting on mini cakes?
Use a piping bag to apply frosting, then smooth it with an offset spatula.
Can I use natural food coloring?
Yes! Beet powder or fruit purées can provide natural colors, though the shades will be softer.
What’s the best frosting alternative?
Swiss meringue buttercream or cream cheese frosting pairs well with these cakes.
How do I make the layers more distinct?
Chill the cakes slightly before stacking to keep layers separate and prevent bleeding.
Can I add filling between the layers?
Absolutely! Try jam, curd, or whipped ganache for extra flavor.
Conclusion
These Mini Ombre Cakes are a beautiful, fun, and delicious way to impress guests at any special event. With their pastel layers and smooth buttercream, they’re as delightful to look at as they are to eat. Try them today and enjoy a sweet, elegant treat!
PrintMini Ombre Cakes

Mini Ombre Cakes are delightful individual desserts featuring layers of cake in gradually changing shades, creating a beautiful gradient effect. They’re perfect for special occasions like birthdays, weddings, or Valentine’s Day.
- Prep Time: 15 minutes
- Cook Time: 45 minutes
- Total Time: 1 hour
- Yield: Approximately 6–8 mini cakes 1x
- Category: Dessert
- Method: Baking
- Cuisine: American
Ingredients
For the Cake:
- 1 box white or vanilla cake mix (plus ingredients listed on the box: eggs, oil, water)
- Red or pink gel food coloring
For the Frosting:
- 1 cup (2 sticks) unsalted butter, softened
- 4 cups powdered sugar
- 2–4 tablespoons heavy cream or milk
- 1 teaspoon vanilla extract
- A pinch of salt
Instructions
1. Prepare the Cake Batter:
- Preheat your oven to 350°F (175°C). Grease and flour three 9-inch round cake pans, or line them with parchment paper for easier removal.
- Prepare the cake mix according to the package instructions.
- Divide the batter evenly into three separate bowls.
- Add varying amounts of red or pink gel food coloring to each bowl to create three different shades: light, medium, and dark. Mix until the colors are evenly distributed.
2. Bake the Cake Layers:
- Pour each colored batter into the prepared cake pans.
- Bake for 10-12 minutes, or until a toothpick inserted into the center comes out clean.
- Remove from the oven and let the cakes cool in the pans for a few minutes before transferring them to a wire rack to cool completely.
3. Prepare the Frosting:
- In a large mixing bowl, beat the softened butter until creamy.
- Gradually add the powdered sugar, one cup at a time, mixing well after each addition.
- Add the vanilla extract and a pinch of salt.
- Add heavy cream or milk, one tablespoon at a time, until the frosting reaches your desired consistency.
4. Assemble the Mini Cakes:
- Once the cake layers have cooled, use a 2.5-inch round cookie cutter to cut out circles from each layer. You should get about 6 circles per layer, depending on the size of your cutter.
- To assemble each mini cake, start with the darkest cake layer at the bottom. Place a small amount of frosting on top, then add the medium-colored layer, followed by more frosting, and finally the lightest layer on top. Finish with a dollop of frosting.
- Repeat this process for the remaining mini cakes.
- Optional: Decorate the tops with sprinkles, edible pearls, or chocolate decorations.
5. Serve:
- Refrigerate the mini cakes for about 30 minutes to allow the frosting to set.
- Serve and enjoy!
Notes
- Color Variations: Feel free to experiment with different colors to match your event’s theme.
- Cake Mix: Using a white or vanilla cake mix allows the added colors to appear more vibrant.
- Storage: Store any leftover mini cakes in an airtight container in the refrigerator for up to 3 days. Bring them to room temperature before serving.