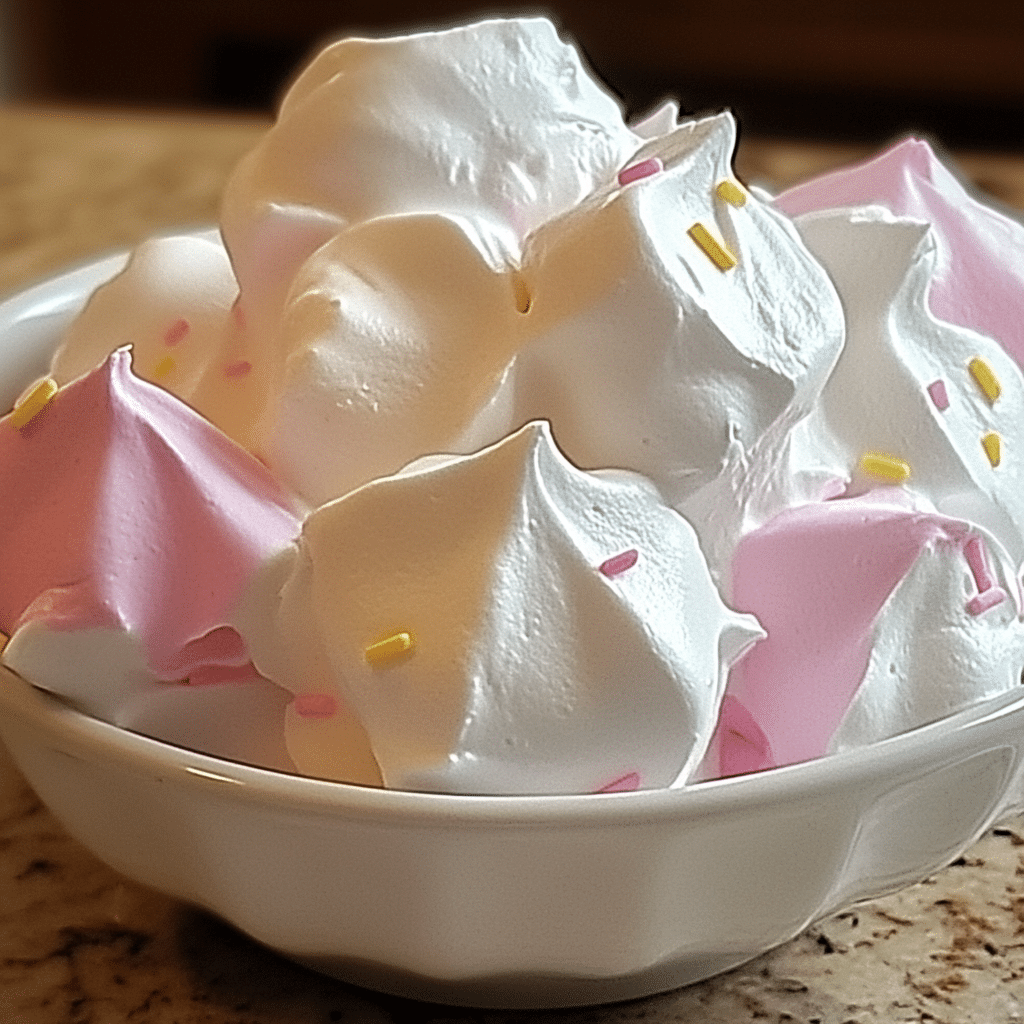
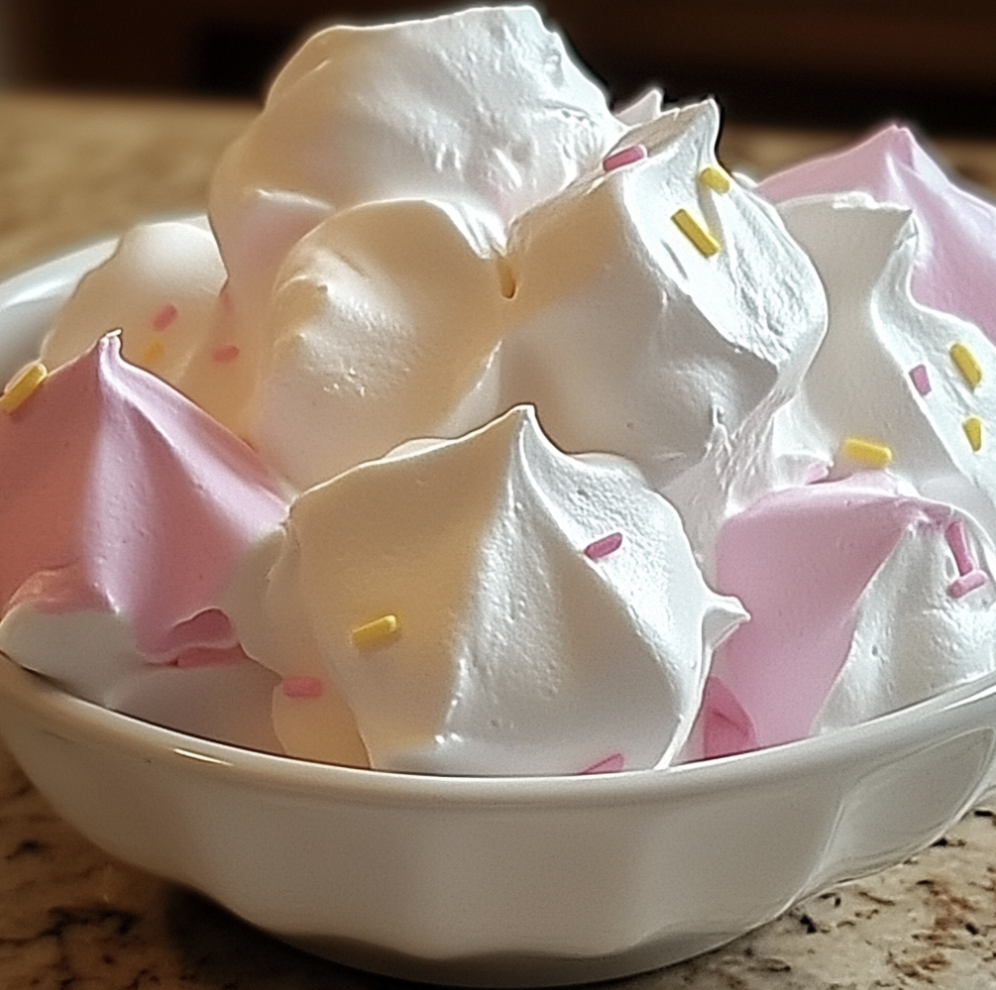
Are you looking for a fun, simple, and sweet treat to satisfy your sugar cravings? Look no further than this Easy Cool Whip Candy recipe! With just a few ingredients and minimal prep time, you can create a delicious candy that everyone will love. Whether you need a last-minute dessert or a snack to enjoy with family and friends, this recipe is a must-try!
What is Cool Whip Candy?
Cool Whip Candy is a quick and easy no-bake dessert that uses Cool Whip (a brand of whipped topping), which adds a light and fluffy texture to the candy. The best part? This candy is completely customizable! You can mix in your favorite ingredients, like chocolate chips, nuts, or even sprinkles, to create a treat that fits your preferences.
Ingredients for Easy Cool Whip Candy
To make this delightful candy, you’ll need only a few simple ingredients:
- 1 tub of Cool Whip (8 oz)
- 1 cup powdered sugar (for sweetness)
- 1 cup mini chocolate chips (for that sweet crunch)
- 1 teaspoon vanilla extract (for flavor)
- 1/2 cup chopped nuts (optional, but adds texture)
Optional ingredients include sprinkles or colorful candy pieces if you want to add a fun touch to your candy.
How to Make Easy Cool Whip Candy

- Prepare the Cool Whip: Start by placing the Cool Whip in a large mixing bowl. Ensure it is softened, so it mixes easily with the other ingredients.
- Add Sweetness: Gradually sift in the powdered sugar, stirring continuously to combine. This will create a smooth and creamy base for your candy.
- Flavor it Up: Add the vanilla extract to the mixture, stirring until fully combined. This will enhance the flavor of your candy.
- Incorporate Mix-Ins: If you’re using mini chocolate chips and chopped nuts, gently fold them into the Cool Whip mixture. You can also add colorful sprinkles for an extra pop of fun.
- Shape Your Candy: Using a spoon or a cookie scoop, portion out small amounts of the mixture and roll them into balls. If you want to get creative, you can also shape them into other fun shapes, such as hearts or squares, depending on the occasion.
- Chill: Place the candy shapes on a parchment-lined baking sheet or tray and refrigerate them for about 1-2 hours, or until they are firm enough to hold their shape.
- Enjoy!: Once the candies have set, they are ready to be enjoyed. Store them in an airtight container in the fridge for up to a week.
Why You’ll Love This Easy Cool Whip Candy Recipe
- No-Bake Dessert: One of the best features of this recipe is that it requires no baking! It’s perfect for busy days when you need a treat but don’t have the time to bake a full dessert.
- Customizable: You can customize this candy to your liking by adding your favorite mix-ins, such as caramel bits, crushed cookies, or even marshmallows. The possibilities are endless!
- Quick and Easy: With just a few ingredients and minimal prep time, you can whip up this treat in no time. It’s great for making with kids or when you need something sweet on short notice.
- Light and Fluffy: Thanks to the Cool Whip, these candies are light, fluffy, and melt-in-your-mouth delicious. They offer a creamy texture that’s perfect for anyone with a sweet tooth.
Tips for Making Perfect Cool Whip Candy
- Use chilled Cool Whip: For the best consistency, make sure your Cool Whip is fully chilled before mixing.
- Experiment with toppings: You can roll the candy in crushed graham crackers, cocoa powder, or powdered sugar for a fun twist.
- Make them bite-sized: Keep your candy pieces small so they are easy to enjoy and share with others.
Variations of Easy Cool Whip Candy
- Peanut Butter Cool Whip Candy: Add a few tablespoons of peanut butter to the Cool Whip mixture for a nutty twist.
- Mint Cool Whip Candy: Add peppermint extract or mint chocolate chips for a refreshing flavor.
- Coconut Cool Whip Candy: Fold in sweetened shredded coconut for a tropical-inspired treat.
Final Thoughts
This Easy Cool Whip Candy is the perfect combination of simplicity and deliciousness. Whether you’re hosting a party, looking for a quick snack, or just craving something sweet, these candies will hit the spot. Customize them to your taste and enjoy this delightful treat with your family and friends!
Serving and Storage Tips for Easy Cool Whip Candy
Serving Tips:
- Chill Before Serving: Make sure your Cool Whip candy is chilled and firm before serving. This helps the candies hold their shape and provides the best texture. Place them in a decorative dish or tray for a fun presentation.
- Serve as a Snack or Dessert: These candies make a perfect snack for afternoon cravings or a sweet end to a meal. They can also be served at parties, gatherings, or holiday events as a bite-sized treat.
- Pair with Drinks: These candies pair wonderfully with beverages like coffee, milk, or even a hot cup of cocoa for a comforting treat. They also complement a fruit platter or a fresh salad for a light dessert option.
- Garnish for Extra Flair: For an extra touch, sprinkle some additional mini chocolate chips, nuts, or colorful sprinkles on top of the candies before serving. It’s a great way to make them even more festive and appealing!
Storage Tips:
- Refrigeration is Key: Store your Cool Whip candies in an airtight container in the refrigerator. The cool environment will keep them firm and fresh. Make sure to place a layer of wax or parchment paper between layers of candy if stacking them.
- Shelf Life: These candies will stay fresh for up to one week when stored properly in the fridge. Be sure to check that they remain firm and maintain their texture as the days go by.
- Freezing for Longer Storage: If you want to keep your Cool Whip candy for a longer period, you can freeze them! Place the candies on a baking sheet in a single layer, and freeze them for 1-2 hours until firm. Then, transfer them into a freezer-safe container or bag for storage. When you’re ready to enjoy, thaw the candies in the fridge for a few hours.
- Avoid Storing at Room Temperature: Cool Whip candies should not be left at room temperature for long periods, as they can soften and lose their shape. Always store them in a cool place to maintain their texture.
By following these simple serving and storage tips, you can enjoy your Easy Cool Whip Candy at its best for days to come!
1. Can I use homemade whipped cream instead of Cool Whip?
Yes, you can substitute homemade whipped cream for Cool Whip. However, Cool Whip gives the candy a light, fluffy texture, which may be slightly different with homemade whipped cream. If you prefer a more natural option, make sure your homemade whipped cream is stiff enough to hold the candy’s shape.
2. Can I add different mix-ins to the candy?
Absolutely! The beauty of this recipe is its versatility. You can add a variety of mix-ins like mini marshmallows, caramel bits, crushed cookies, peanut butter chips, or even dried fruit. Just make sure to fold in the ingredients gently to maintain the texture of the Cool Whip.
3. How long does Cool Whip Candy need to chill?
Cool Whip candy should be chilled for about 1-2 hours to ensure it sets properly and holds its shape. If you’re in a rush, you can place the candy in the freezer for 30 minutes to speed up the process, but be sure to return them to the fridge afterward.
4. Can I make Cool Whip Candy ahead of time?
Yes! Cool Whip candy is an excellent make-ahead treat. You can prepare the candies up to 3 days in advance, keeping them stored in an airtight container in the refrigerator. This makes it a great option for parties, holidays, or busy weeknights when you need a quick, homemade dessert.
PrintEasy Cool Whip Candy
This Easy Cool Whip Candy is a delightful homemade treat that mimics the classic 3 Musketeers bar. With a fluffy chocolate center enveloped in a smooth chocolate coating, it’s perfect for satisfying your sweet tooth or sharing with friends and family.
- Prep Time: 15 minutes
- Chill Time: 1 hour
- Cook Time: 5 minutes
- Total Time: 1 hour 20 minutes
- Yield: 36 pieces 1x
- Category: Dessert
- Method: No-Bake
- Cuisine: American
Ingredients
- 3 cups (525g) milk chocolate chips
- 8 ounces (225g) Cool Whip, thawed
- 24 ounces (680g) chocolate almond bark or chocolate melting wafers
Instructions
Prepare the Pan: Line an 8×8-inch (20×20 cm) baking dish with parchment paper, leaving some overhang on the sides for easy removal.- Melt Chocolate Chips: Place the milk chocolate chips in a microwave-safe bowl. Heat in 20-second intervals, stirring after each, until fully melted and smooth.
- Combine with Cool Whip: Allow the melted chocolate to cool slightly, then fold in the thawed Cool Whip until fully combined. The mixture will be thick.
- Set the Mixture: Spread the chocolate and Cool Whip mixture evenly into the prepared baking dish. Freeze for about 30 minutes, or until firm.
- Cut into Squares: Once set, remove the mixture from the pan using the parchment overhang. Cut into approximately 36 small squares.
- Freeze Again: Place the squares on a baking sheet lined with parchment paper and freeze for an additional 30 minutes.
- Melt Coating Chocolate: Melt the chocolate almond bark or melting wafers according to the package instructions until smooth.
- Coat the Squares: Using a fork, dip each frozen square into the melted chocolate, allowing any excess to drip off. Place the coated candies back onto the parchment-lined baking sheet.
- Set the Coating: Allow the chocolate coating to set completely at room temperature or place the candies in the refrigerator to speed up the process.
- Store and Serve: Once set, store the candies in an airtight container in the refrigerator or freezer. Enjoy chilled.
Notes
For a different flavor, consider using dark chocolate or white chocolate for the coating.- To add texture, sprinkle chopped nuts or sprinkles on top of the candies before the chocolate sets.
- These candies can be stored in the freezer for up to 1 month.


