

Savor the delightful essence of autumn with our Apple Crisp Mini Cheesecakes, a fusion of comforting flavors that promises to bring joy to your taste buds. Combining the beloved tastes of apple crisp with the creamy richness of cheesecake, these mini treats are perfect for indulging in the cozy vibes of the season.
Ingredients:
Graham Cracker Crust:
- 3/4 cup graham cracker crumbs
- 1 and 1/2 Tablespoons sugar
- 1/2 teaspoon cinnamon
- 3 Tablespoons unsalted butter, melted
Crumb Topping:
- 1/3 cup all-purpose flour
- 1/3 cup light brown sugar
- 1/3 cup quick cooking oats
- 3/4 teaspoon cinnamon
- 1/8 teaspoon nutmeg
- 2 and 1/2 Tablespoons unsalted butter, melted
Apple Filling:
- 2 medium-small apples, peeled and chopped finely
- 2 teaspoons freshly squeezed lemon juice
- 1 and 1/2 teaspoons cinnamon
- 1/4 teaspoon nutmeg
- 2 Tablespoons light brown sugar
- 1 and 1/2 teaspoons corn starch
Cheesecake Filling:
- 10 oz. cream cheese, softened
- 6 Tablespoons sugar
- 1 and 1/2 teaspoons vanilla extract
- 2 teaspoons all-purpose flour
- 1 egg
- Caramel sauce, for serving
Directions:
- Preheat the oven to 325°F and line a standard cupcake pan with paper liners (makes 9 cupcakes).
- For the crust, mix graham cracker crumbs, sugar, and cinnamon. Add melted butter and stir. Press about 2 Tablespoons of mixture into the bottom of each liner. Refrigerate.
- For the topping, combine flour, light brown sugar, oats, cinnamon, and nutmeg. Add melted butter and stir until crumbly. Refrigerate.
- Beat cream cheese with sugar, vanilla, and flour for the filling. Add egg and mix to combine. Spoon over crusts, filling 2/3 of the cup.
- Toss apples with lemon juice, brown sugar, corn starch, cinnamon, and nutmeg. Spoon over filling. Press gently.
- Sprinkle with cinnamon oat crumbs. Bake for 28-30 minutes. Cool for 30 minutes in the pan, then refrigerate.
- Serve with caramel sauce.
Tips:
- Ensure the cream cheese is softened for a smooth cheesecake filling.
- Use a mix of tart and sweet apples for a balanced flavor in the filling.
- Allow the mini cheesecakes to cool sufficiently before refrigerating to prevent condensation on the surface.
Conclusion:
Indulge in the warmth and richness of autumn flavors with our Apple Crisp Mini Cheesecakes. These delectable treats are not only a delightful dessert but also a celebration of the season’s bounty. Perfect for sharing with loved ones or savoring as a personal indulgence, these mini cheesecakes are sure to become a favorite autumn delight. Enjoy the comforting blend of apple crisp and creamy cheesecake, crowned with a drizzle of caramel sauce, for a truly decadent experience.
- Can I use a different type of crust for these mini cheesecakes?
- While the graham cracker crust adds a classic flavor and texture to these mini cheesecakes, you can definitely experiment with different crust options. For a variation, you could try using crushed digestive biscuits, vanilla wafers, or even a traditional shortbread crust. Just make sure to adjust the quantities accordingly to achieve the desired consistency and taste.
- How do I prevent the cheesecake filling from cracking?
- Cracking in cheesecake can occur due to several factors such as overmixing the batter, sudden changes in temperature, or overbaking. To minimize the risk of cracking, it’s essential to mix the cheesecake filling ingredients just until they are combined, avoiding overmixing which can incorporate excess air into the batter. Additionally, ensure that the oven temperature is accurate and avoid opening the oven door frequently during baking, as drastic temperature changes can cause the cheesecakes to crack. Finally, be sure to bake the cheesecakes just until they are set but still slightly jiggly in the center, as overbaking can lead to cracking as well.
- Can I make these mini cheesecakes ahead of time?
- Yes, these Apple Crisp Mini Cheesecakes can be made ahead of time, making them a convenient option for entertaining or special occasions. You can prepare the cheesecakes up to a day in advance and store them in an airtight container in the refrigerator. Wait to add the caramel sauce until just before serving to maintain its freshness and prevent the cheesecakes from becoming too soggy. Alternatively, you can freeze the mini cheesecakes (without the caramel sauce) for longer storage. Simply thaw them in the refrigerator overnight before serving.
- What are some possible variations or additions to this recipe?
- This recipe offers plenty of opportunities for customization and personalization to suit your taste preferences. Here are a few ideas to consider:
- Add chopped nuts such as pecans or walnuts to the crumb topping for added crunch and flavor.
- Incorporate a layer of spiced apple compote or apple pie filling between the cheesecake filling and the crumb topping for extra apple flavor.
- Drizzle the finished mini cheesecakes with a salted caramel sauce for a sweet and savory twist.
- Experiment with different apple varieties such as Granny Smith, Honeycrisp, or Gala to achieve varying levels of tartness and sweetness in the filling.
- Garnish the mini cheesecakes with a dollop of whipped cream or a sprinkle of cinnamon before serving for an extra touch of indulgence.
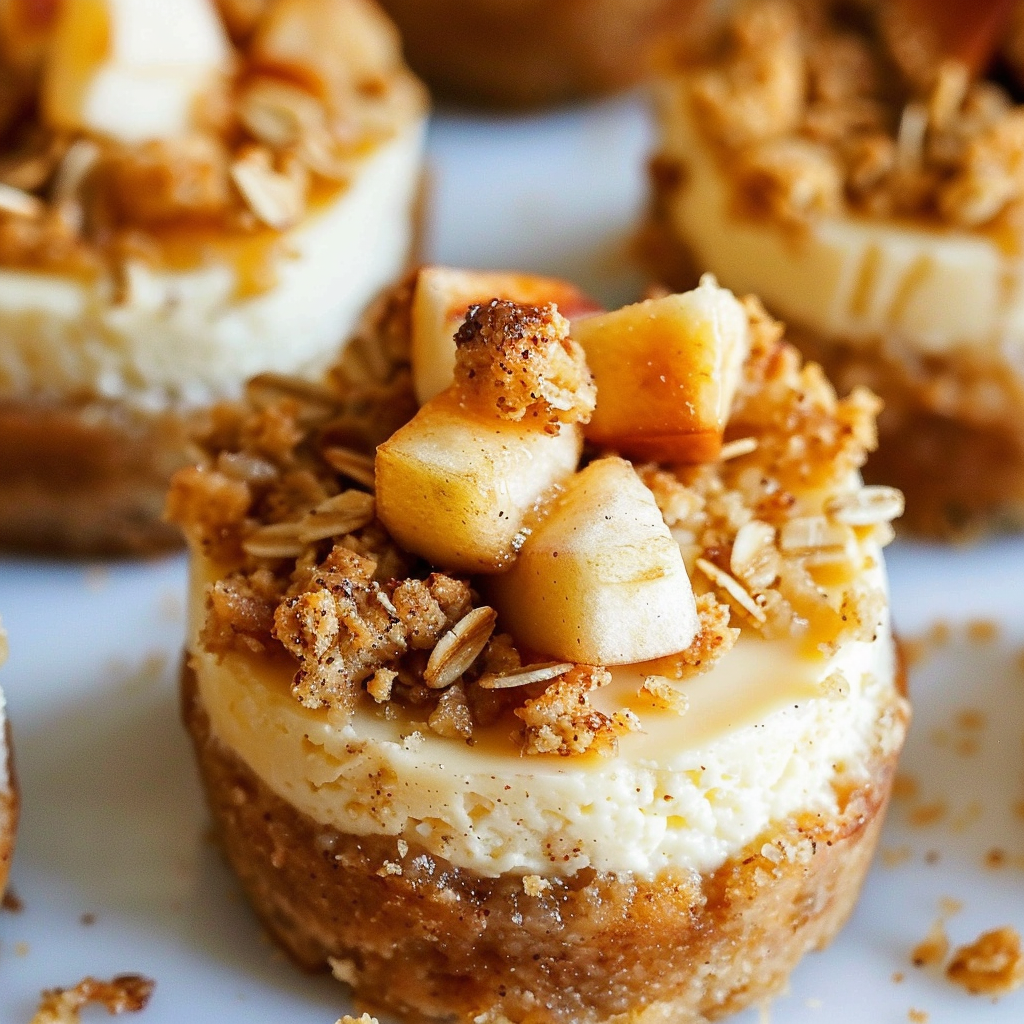
Apple Crisp Mini Cheesecakes

These Apple Crisp Mini Cheesecakes combine two classic desserts into one irresistible bite! A buttery graham cracker crust, smooth vanilla cheesecake, warm cinnamon apples, and a crispy oat topping make this the perfect fall treat.
- Prep Time: 20 minutes
- Chill Time: 2 hours
- Cook Time: 25 minutes
- Total Time: 2 hours 45 minutes
- Yield: 12 mini cheesecakes 1x
- Category: Dessert
- Method: Baking
- Cuisine: American
Ingredients
For the Crust:
- 1 cup graham cracker crumbs
- 2 tbsp granulated sugar
- 4 tbsp unsalted butter, melted
For the Cheesecake Filling:
- 8 oz (225g) cream cheese, softened
- 1/4 cup granulated sugar
- 1 tsp vanilla extract
- 1 egg
- 1/4 cup sour cream
For the Apple Topping:
- 1 large apple, peeled and diced (Granny Smith or Honeycrisp)
- 2 tbsp brown sugar
- 1/2 tsp cinnamon
- 1/2 tsp lemon juice
- 1 tsp cornstarch
- 1 tbsp water
For the Crisp Topping:
- 1/4 cup old-fashioned oats
- 2 tbsp all-purpose flour
- 2 tbsp brown sugar
- 1/4 tsp cinnamon
- 2 tbsp unsalted butter, melted
For Garnish (Optional):
- Caramel sauce
- Whipped cream
Instructions
-
Prepare the Crust:
- Preheat oven to 325°F (163°C).
- Line a muffin tin with cupcake liners.
- Mix graham cracker crumbs, sugar, and melted butter until combined.
- Press about 1 tbsp of mixture into each liner.
- Bake for 5 minutes, then let cool.
-
Make the Cheesecake Filling:
- In a bowl, beat the cream cheese and sugar until smooth.
- Add vanilla, egg, and sour cream, mixing until just combined.
- Spoon the cheesecake mixture evenly over the crusts.
-
Prepare the Apple Topping:
- In a small saucepan, cook apples, brown sugar, cinnamon, and lemon juice over medium heat for 3-4 minutes until softened.
- Mix cornstarch and water, then stir into the apples to thicken.
- Remove from heat and let cool slightly.
-
Make the Crisp Topping:
- In a bowl, mix oats, flour, brown sugar, cinnamon, and melted butter until crumbly.
-
Assemble & Bake:
- Spoon a layer of cooked apples over each cheesecake.
- Sprinkle crisp topping on top.
- Bake for 18-20 minutes until cheesecakes are set.
- Let cool completely, then refrigerate for at least 2 hours.
-
Serve:
- Drizzle with caramel sauce and top with whipped cream if desired. Enjoy!
Notes
- Best served chilled for a firmer texture.
- Store in an airtight container in the fridge for up to 4 days.
- Try using different apples like Fuji or Pink Lady for a sweeter variation!