Introduction:
Looking for a tantalizing new dish that combines the irresistible flavors of chicken, bacon, and ranch? Look no further than Chicken Bacon Ranch Roll-Ups! This dish is not only packed with delightful flavors but is also incredibly versatile, perfect for a cozy family dinner, a party appetizer, or a convenient snack. In this article, we’ll guide you through the steps to make these delicious roll-ups, discuss their nutritional benefits, and share some tips for customizing the recipe to your liking.
Ingredients:
To prepare Chicken Bacon Ranch Roll-Ups, you will need the following ingredients:
- 2 chicken breasts, thinly sliced
- 8 slices of bacon
- 1 cup of shredded cheddar cheese
- 1/4 cup of ranch dressing
- 1/4 teaspoon of garlic powder
- 1/4 teaspoon of onion powder
- Salt and pepper to taste
- 2 tablespoons of chopped parsley (optional, for garnish)
Preparation Steps:

- Preheat your oven to 375°F (190°C).
- Prepare the chicken: If your chicken breasts are not already thinly sliced, you’ll need to butterfly them or pound them to about 1/4 inch thickness. This ensures they cook quickly and evenly.
- Season the chicken: Sprinkle each chicken breast with garlic powder, onion powder, salt, and pepper on both sides.
- Add fillings: Spread a tablespoon of ranch dressing over each chicken breast. Top with shredded cheddar cheese and two slices of bacon per breast.
- Roll them up: Carefully roll each chicken breast tightly and secure with toothpicks if necessary.
- Bake: Place the roll-ups seam side down on a baking sheet or in a baking dish. Bake in the preheated oven for 25-30 minutes or until the chicken is thoroughly cooked.
- Garnish and serve: Once done, let the roll-ups rest for a few minutes before removing the toothpicks. Garnish with chopped parsley if desired and serve hot.
Nutritional Benefits:
Chicken Bacon Ranch Roll-Ups offer a good balance of protein, fat, and flavor. Chicken provides a high-quality source of protein, which is essential for muscle repair and growth. Bacon, while indulgent, adds a smoky flavor that pairs perfectly with the creamy richness of the ranch dressing. To make this dish healthier, consider using low-fat cheese and a light ranch dressing.
Customization Tips:
- Vegetable Additions: Add spinach, diced bell peppers, or mushrooms for extra nutrients and flavors.
- Cheese Variations: Swap cheddar for mozzarella, pepper jack, or any cheese you prefer.
- Cooking Methods: These roll-ups can also be made in an air fryer for a quicker cooking time or grilled for a smoky flavor.
Conclusion:
Chicken Bacon Ranch Roll-Ups are a delicious, easy-to-make dish that’s sure to impress. Whether you’re cooking for a family dinner, preparing party snacks, or simply looking for a tasty meal, these roll-ups provide a satisfying and flavorful option. Try this recipe today and enjoy the perfect blend of chicken, bacon, and ranch in every bite!
Serving and Storage Tips for Chicken Bacon Ranch Roll-Ups
Serving Tips:
- Presentation: For an appealing presentation, slice the roll-ups into pinwheels before serving. This not only looks great on a platter but also makes them easier to eat, especially at gatherings.
- Side Dishes: Pair these roll-ups with light side dishes such as a crisp garden salad, steamed vegetables, or a simple pasta salad to balance out the richness of the bacon and cheese.
- Dipping Sauces: While these roll-ups are flavorful on their own, you can serve them with extra ranch dressing, barbecue sauce, or your favorite dipping sauce to enhance their taste.
- Temperature: Chicken Bacon Ranch Roll-Ups are best served hot. If they cool down, simply reheat them in the oven for a few minutes before serving to ensure they are warm and the cheese is gooey.
Storage Tips:
- Refrigeration: Store any leftover roll-ups in an airtight container in the refrigerator. Properly stored, they will last for up to 3-4 days. Make sure to let the roll-ups cool to room temperature before refrigerating to prevent condensation which can make them soggy.
- Freezing: These roll-ups can be frozen for longer storage. Wrap each roll-up individually in cling film or aluminum foil, then place them in a freezer-safe bag or container. They can be stored in the freezer for up to 2 months. To serve, thaw in the refrigerator overnight and reheat in the oven until heated through.
- Reheating: To reheat the roll-ups, place them on a baking sheet and cover with aluminum foil. Reheat in an oven preheated to 350°F (175°C) for about 10-15 minutes, or until they are heated through. If you prefer the microwave, cover them with a damp paper towel to keep the roll-ups moist and microwave on high for 1-2 minutes or until warm.
Additional Tip:
- Meal Prep: These roll-ups are excellent for meal prep. You can prepare several batches, bake them, and then store them in the refrigerator or freezer. This makes for a quick and easy meal during busy weekdays, and ensures you always have a delicious and satisfying option on hand.
By following these serving and storage tips, you can ensure that your Chicken Bacon Ranch Roll-Ups are delicious and safe to eat whether served immediately or stored for later use. Enjoy your cooking and the wonderful flavors these roll-ups bring to your table!
1. Can I use turkey bacon or a vegetarian bacon substitute in this recipe?
Yes, you can easily substitute regular bacon with turkey bacon or a vegetarian bacon alternative to suit your dietary preferences or reduce the overall fat content. Keep in mind that the flavor and texture will vary slightly depending on the type of bacon substitute you choose.
2. What is the best way to secure the roll-ups so they don’t unroll during cooking?
To prevent the roll-ups from unrolling during the baking process, it’s effective to use toothpicks to secure them. Insert the toothpicks horizontally through the roll-up at 1- to 2-inch intervals. Just remember to remove all toothpicks before serving!
3. Can I prepare these roll-ups ahead of time for a party?
Absolutely! You can assemble the Chicken Bacon Ranch Roll-Ups a day ahead of your event and store them covered in the refrigerator. When you’re ready to serve, simply bake them according to the recipe instructions. This can be a great time-saver for parties and gatherings.
4. Are there any gluten-free options for Chicken Bacon Ranch Roll-Ups?
Yes, this recipe can be made gluten-free by ensuring that the ranch dressing and any other added ingredients, like seasonings, are certified gluten-free. Additionally, be cautious with any bacon brands and check labels carefully as some may contain additives with gluten. This way, you can adapt the roll-ups to meet gluten-free dietary needs without compromising on taste.
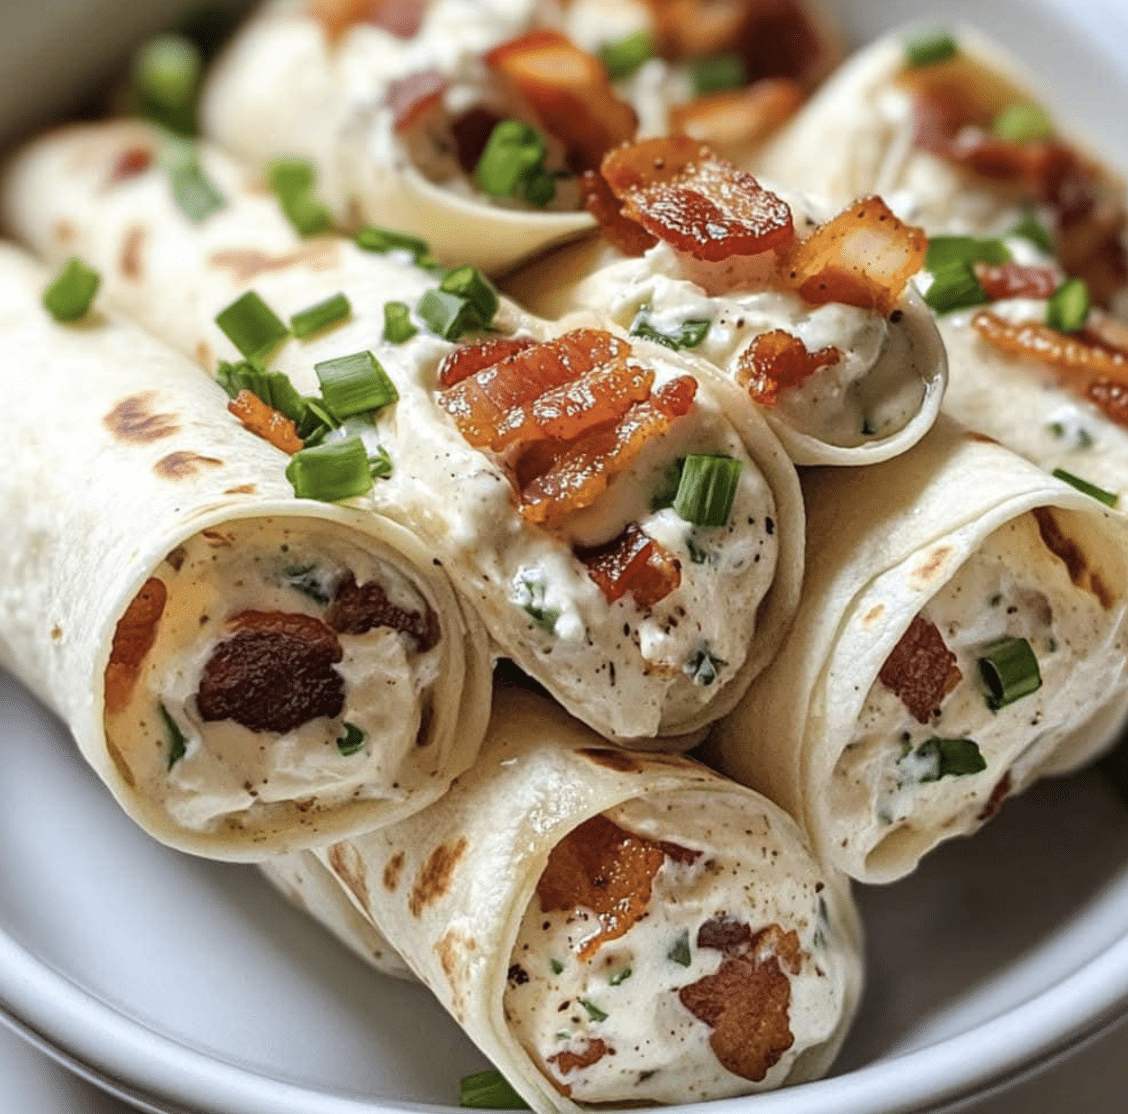
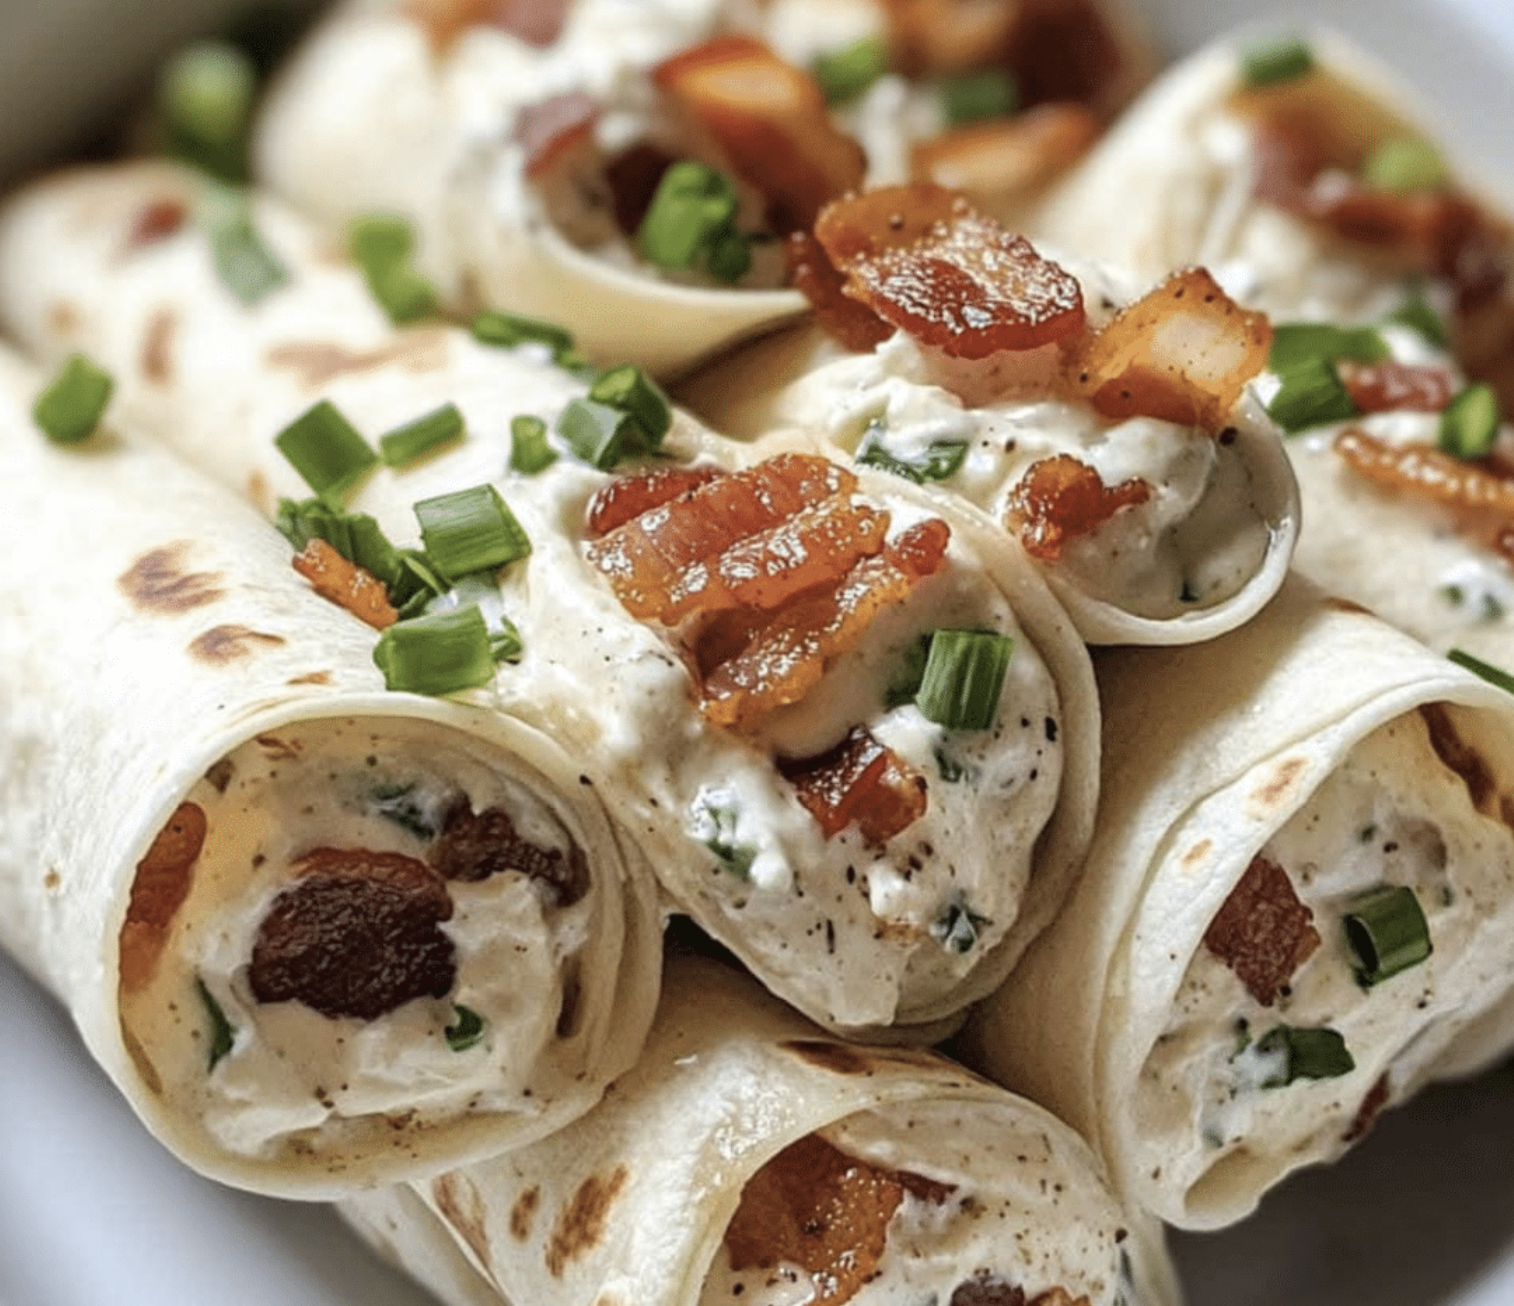
Creamy Bacon Ranch Roll-Ups
These Creamy Bacon Ranch Roll-Ups are the perfect party appetizer or snack! Made with a creamy ranch-flavored filling, crispy bacon, and shredded cheese, all rolled up in soft tortillas, they’re easy to prepare and always a hit.
- Prep Time: 15 minutes
- Cook Time: 1 hour
- Total Time: 1 hour 15 minutes
- Yield: 40 roll-ups 1x
- Category: Appetizers, Snacks
- Method: No-Bake
- Cuisine: American
Ingredients
- 8 large flour tortillas (10-inch size)
- 8 oz (225 g) cream cheese, softened
- 1/2 cup ranch dressing
- 1 cup shredded cheddar cheese
- 1/2 cup cooked and crumbled bacon (about 6 strips)
- 1/2 cup diced green onions
- 1/2 teaspoon garlic powder
- 1/4 teaspoon black pepper
Instructions
- Prepare the Filling:
- In a medium bowl, combine the softened cream cheese, ranch dressing, garlic powder, and black pepper. Mix until smooth.
- Stir in the shredded cheddar cheese, crumbled bacon, and diced green onions until well combined.
- Assemble the Roll-Ups:
- Spread a thin, even layer of the filling onto each tortilla, leaving about 1/2 inch of space around the edges.
- Tightly roll up each tortilla into a log shape.
- Chill the Roll-Ups:
- Wrap each rolled tortilla in plastic wrap and refrigerate for at least 1 hour to firm up and make slicing easier.
- Slice and Serve:
- Unwrap the roll-ups and slice each one into 1-inch pieces. Arrange the slices on a serving platter.
- Serve chilled or at room temperature.
Notes
- Use flavored tortillas (spinach, sun-dried tomato, or whole wheat) for extra color and flavor.
- These can be made up to a day in advance and stored in an airtight container in the fridge.
- Add diced jalapeños or a dash of hot sauce to the filling for a spicy twist.


