
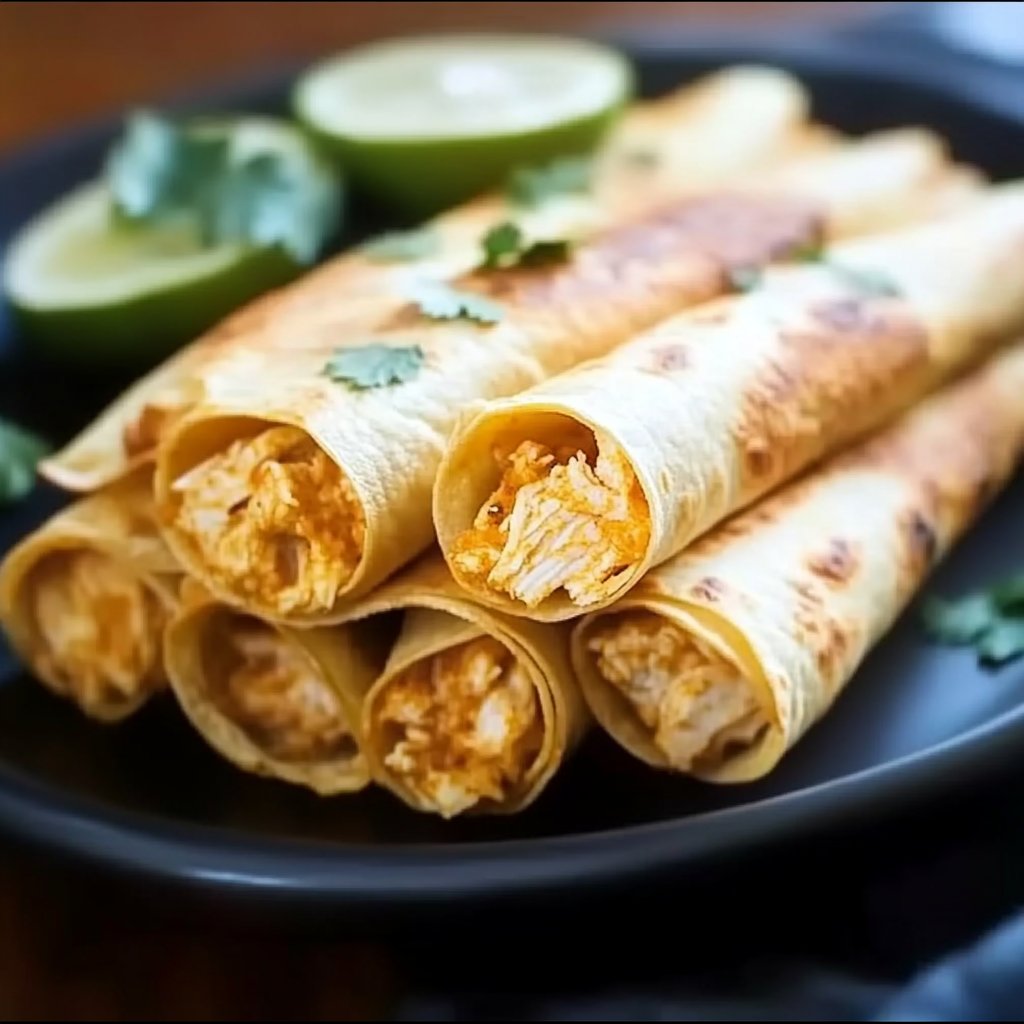
These Creamy Oven Baked Chicken Taquitos are crisp on the outside, rich and cheesy on the inside, and packed with bold flavors. Made with a creamy chicken filling and baked until golden, they’re perfect for weeknight meals, parties, or snacking on the go.
Why You’ll Love This Recipe
- Crispy without deep frying—healthier and less mess
- Creamy, cheesy, and packed with flavor
- Great for meal prep and freezer-friendly
- Kid-approved and crowd-pleasing
- Customizable with your favorite salsas and seasonings
Ingredients
(Tip: You’ll find the full list of ingredients and measurements in the recipe card below.)
- Cream cheese, softened
- Salsa (green or red)
- Fresh lime juice
- Ground cumin
- Chili powder
- Onion powder
- Garlic powder
- Taco seasoning (optional)
- Chopped cilantro or green onions
- Cooked shredded chicken (rotisserie works great)
- Shredded cheese (Pepper Jack, Cheddar, or Mexican blend)
- Corn or flour tortillas (6-inch)
- Cooking spray or oil
- Kosher salt
Directions
- Preheat the oven to 425°F (220°C) and line a baking sheet with parchment or lightly grease it.
- In a large bowl, mix softened cream cheese with salsa, lime juice, spices, cilantro or green onions, shredded chicken, and cheese until fully combined.
- Warm tortillas in the microwave wrapped in a damp paper towel for 20–30 seconds to make them pliable.
- Spoon 2–3 tablespoons of the filling near the lower third of each tortilla, roll up tightly, and place seam-side down on the baking sheet.
- Lightly brush or spray taquitos with oil and sprinkle with salt.
- Bake for 15–20 minutes or until golden brown and crisp. Let cool slightly before serving.
Servings and timing
- Servings: 12 taquitos
- Prep time: 15 minutes
- Cook time: 20 minutes
- Total time: 35 minutes
Variations
- Use rotisserie chicken for convenience
- Swap cream cheese for sour cream or Greek yogurt
- Add sautéed onions, black beans, or corn for extra filling
- Make it spicy with hot salsa or chopped jalapeños
- Try different cheeses like Monterey Jack or Queso Fresco
Storage/reheating
- Storage: Store leftovers in an airtight container in the fridge for up to 4 days
- Freezing: Freeze unbaked taquitos in a single layer, then transfer to a container for up to 3 months
- Reheating: Reheat in a 375°F oven for 10–15 minutes or until hot and crisp
FAQs
1. Can I use flour tortillas instead of corn?
Yes, flour tortillas are easier to roll and hold up well during baking.
2. How do I keep the tortillas from cracking?
Warm them before rolling to make them flexible and less likely to tear.
3. Can I make these taquitos ahead of time?
Absolutely! Assemble them ahead and refrigerate or freeze until ready to bake.
4. Are these taquitos gluten-free?
Yes, if you use corn tortillas and check that all ingredients are gluten-free.
5. Can I use leftover turkey or beef?
Yes, these taquitos are a great way to use up cooked meats.
6. What’s the best salsa to use?
Choose one you enjoy—green salsa for tangy heat or red salsa for a richer taste.
7. Can I air fry instead of bake?
Yes, air fry at 400°F for 8–10 minutes until golden and crisp.
8. How do I keep them crispy after baking?
Let them cool on a wire rack instead of a plate to avoid steaming.
9. Can I make a vegetarian version?
Yes, use black beans, corn, sautéed peppers, and cheese for the filling.
10. What dipping sauces go well with these?
Serve with guacamole, sour cream, salsa, or chipotle mayo for dipping.
Conclusion
Creamy Oven Baked Chicken Taquitos are easy, delicious, and incredibly versatile. With a satisfying crunch and a flavorful, creamy filling, they’re perfect for any meal or occasion. Make a batch for dinner or freeze for later—you’ll be glad you did!
PrintCreamy Oven Baked Chicken Taquitos

Crispy oven-baked chicken taquitos filled with creamy, flavorful shredded chicken—perfect for a crowd-pleasing appetizer or easy dinner.
- Prep Time: 15 mins
- Cook Time: 15 mins
- Total Time: 30 mins
- Yield: 12 taquitos 1x
- Category: Appetizer/Main Dish
- Method: Baking
- Cuisine: Mexican/Tex‑Mex
- Diet: Vegetarian
Ingredients
- 2 cups cooked, shredded chicken (rotisserie or homemade)
- 4 oz cream cheese, softened
- 1/2 cup sour cream
- 1 cup shredded cheddar or Mexican-blend cheese
- 1 tsp chili powder
- 1/2 tsp cumin
- 1/4 tsp garlic powder
- Salt and pepper, to taste
- 12 small corn or flour tortillas
- 1 tbsp butter, melted (optional, for brushing)
- Non-stick cooking spray
Instructions
- Preheat oven to 425°F (220°C). Line a baking sheet with parchment and spray lightly.
- In a bowl, mix shredded chicken, cream cheese, sour cream, shredded cheese, chili powder, cumin, garlic powder, salt, and pepper until well combined.
- Warm tortillas briefly in the microwave (about 20–30 seconds in a damp towel) to make them pliable.
- Scoop about 2 tablespoons of the chicken mixture onto one end of each tortilla and roll tightly. Place seam-side down on the prepared baking sheet.
- Optional: brush tops lightly with melted butter and spray again with cooking spray for extra crispiness.
- Bake 12–15 minutes, or until taquitos are golden and crispy on the edges.
- Remove from oven and let cool slightly before serving.
- Serve with salsa, guacamole, sour cream, or fresh cilantro as desired.
Notes
- Don’t overfill tortillas—this helps them crisp and prevents splitting.
- Use corn tortillas for gluten-free option.
- Reheat baked taquitos in the oven or air fryer to retain crispiness—avoid the microwave.
- Make ahead by assembling and refrigerating on the baking sheet covered with foil; bake just before serving.
Nutrition
- Serving Size: 2 taquitos
- Calories: 300 kcal
- Sugar: 2 g
- Sodium: 450 mg
- Fat: 18 g
- Saturated Fat: 10 g
- Unsaturated Fat: 6 g
- Trans Fat: 0 g
- Carbohydrates: 20 g
- Fiber: 2 g
- Protein: 15 g
- Cholesterol: 70 mg