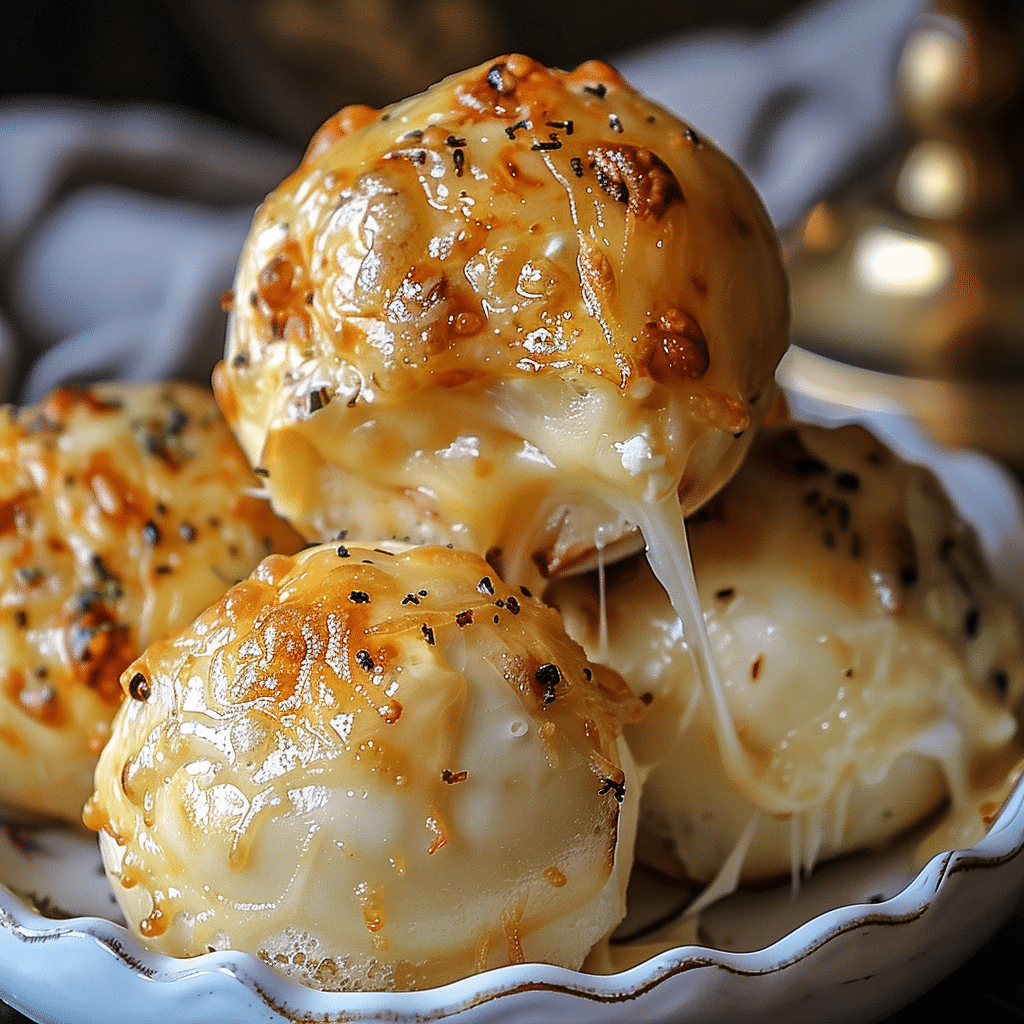
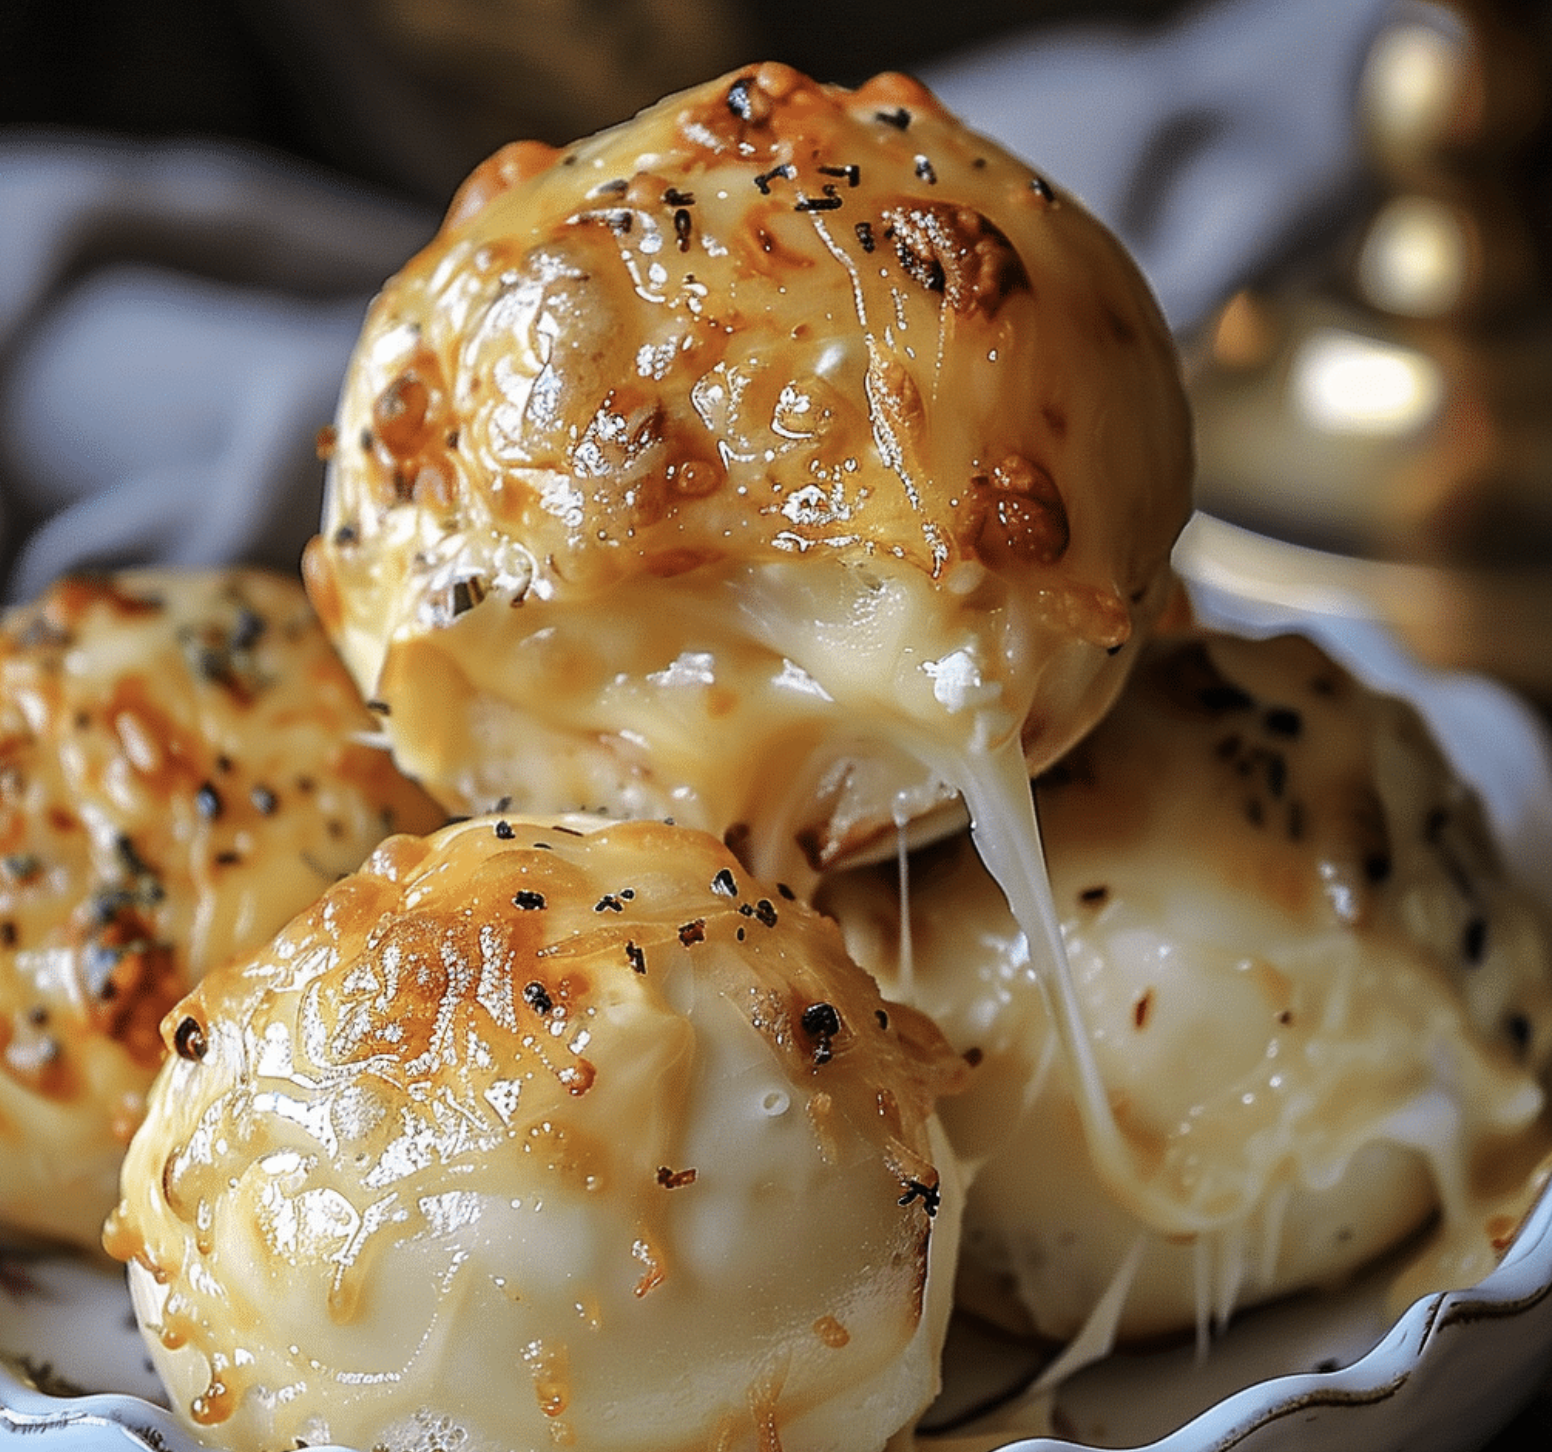
If you’re looking for a crowd-pleasing appetizer that’s easy to make and bursting with flavor, look no further than Homemade Garlic Butter Cheese Bombs. These delightful little bites are perfect for parties, game day, or simply as a tasty snack. With gooey cheese encased in a golden, buttery dough and a hint of garlic, they’re sure to be a hit with everyone.
What Are Garlic Butter Cheese Bombs?
Garlic Butter Cheese Bombs are small dough balls filled with a generous portion of cheese, typically mozzarella or cheddar, and coated in a rich garlic butter sauce. When baked, the outside becomes crispy, while the inside remains soft and cheesy. The combination of flavors makes them irresistible!
Ingredients You’ll Need
To make these scrumptious cheese bombs, gather the following ingredients:
- For the Dough:
- 1 can of refrigerated biscuit dough
- 1 cup shredded mozzarella cheese (or your favorite cheese)
- 1/2 cup grated Parmesan cheese (optional)
- For the Garlic Butter:
- 1/2 cup unsalted butter (1 stick)
- 4 cloves garlic, minced
- 1 tablespoon fresh parsley, chopped (optional)
- Salt and pepper to taste
Step-by-Step Instructions

1. Preheat the Oven
Preheat your oven to 375°F (190°C) and line a baking sheet with parchment paper.
2. Prepare the Garlic Butter
In a small saucepan over low heat, melt the butter. Add the minced garlic and sauté for 1-2 minutes until fragrant. Remove from heat and stir in chopped parsley, salt, and pepper. Set aside.
3. Assemble the Cheese Bombs
- Open the can of biscuit dough and separate it into individual biscuits.
- Flatten each biscuit slightly and place a tablespoon of shredded mozzarella cheese in the center.
- Pinch the dough around the cheese to form a ball, ensuring the cheese is fully enclosed.
- Place the cheese balls seam-side down on the prepared baking sheet.
4. Brush with Garlic Butter
Using a brush, generously coat each cheese bomb with the melted garlic butter mixture. Reserve some of the garlic butter for serving.
5. Bake
Bake in the preheated oven for 12-15 minutes or until golden brown. The cheese inside will melt and create a gooey center.
6. Serve and Enjoy
Remove the cheese bombs from the oven and let them cool slightly. Serve warm, drizzled with the remaining garlic butter, and enjoy the cheesy goodness!
Tips for the Perfect Cheese Bombs
- Experiment with Cheeses: While mozzarella is classic, you can mix in other cheeses like cheddar, gouda, or pepper jack for a different flavor profile.
- Add Herbs or Spices: Feel free to add herbs like oregano or Italian seasoning to the garlic butter for an extra flavor boost.
- Make Ahead: You can prepare the cheese bombs in advance, cover them, and refrigerate before baking. Just add a couple of extra minutes to the baking time if baking straight from the fridge.
Why You’ll Love These Cheese Bombs
- Quick and Easy: With just a few ingredients and minimal prep time, these cheese bombs come together quickly.
- Customizable: Tailor the recipe to your liking by experimenting with different cheese and seasoning combinations.
- Perfect for Sharing: These bite-sized treats are ideal for gatherings, allowing guests to enjoy them without fuss.
Conclusion
Homemade Garlic Butter Cheese Bombs are a cheesy, garlicky treat that everyone will love. Whether served as an appetizer or snack, they’re sure to disappear quickly! Try this recipe today and impress your family and friends with your culinary skills. Happy baking!
Serving and Storage Tips for Homemade Garlic Butter Cheese Bombs
Serving Tips:
- Warm and Fresh: For the best flavor and texture, serve the cheese bombs warm right out of the oven. They’re at their gooey best when freshly baked.
- Dipping Sauces: Pair these cheese bombs with delicious dipping sauces. Marinara, ranch dressing, or a spicy aioli complement the cheesy goodness perfectly.
- Garnish: Enhance the presentation by garnishing with fresh herbs, such as chopped parsley or basil, just before serving. This adds a pop of color and freshness.
- Portion Control: Consider serving them on a large platter or in a breadbasket, allowing guests to help themselves. Provide toothpicks for easy grabbing.
- Add Variety: To please different palates, prepare a variety of cheese bombs. For instance, include some with spicy pepper jack cheese and others with classic mozzarella.
Storage Tips:
- Refrigeration: If you have leftovers, store the cooled cheese bombs in an airtight container in the refrigerator for up to 3 days.
- Freezing: For longer storage, you can freeze the cheese bombs before baking. Place them in a single layer on a baking sheet to freeze individually, then transfer to a freezer-safe bag or container. They can be frozen for up to 2 months.
- Reheating: To reheat refrigerated cheese bombs, place them in a preheated oven at 350°F (175°C) for about 10 minutes until heated through. If reheating from frozen, add a few extra minutes to ensure they’re warmed all the way through.
- Avoid Sogginess: If reheating in the microwave, be cautious as they can become soggy. Instead, using the oven or air fryer helps retain their crispy texture.
By following these serving and storage tips, you can enjoy your Homemade Garlic Butter Cheese Bombs fresh or reheat them later without losing their delightful taste and texture!
1. Can I use a different type of cheese in the cheese bombs?
Absolutely! While mozzarella is a popular choice for its melting qualities, you can experiment with various cheeses such as cheddar, gouda, pepper jack, or even cream cheese. Mixing different cheeses can create unique flavors and textures in each bite.
2. How can I make these cheese bombs spicier?
If you want to add some heat, consider incorporating diced jalapeños or crushed red pepper flakes into the cheese filling. You can also use spicy cheeses like pepper jack or serve the cheese bombs with a spicy dipping sauce.
3. Can I make these cheese bombs ahead of time?
Yes, you can prepare the cheese bombs in advance! Assemble them and store them in the refrigerator for up to 24 hours before baking. Alternatively, you can freeze them before baking. Just remember to add a few extra minutes to the baking time if baking from frozen.
4. What can I serve with garlic butter cheese bombs?
These cheese bombs pair well with a variety of dipping sauces. Some popular choices include marinara sauce, ranch dressing, garlic aioli, or even a tangy barbecue sauce. They can also be served alongside a fresh salad or vegetable platter for a complete appetizer spread.
Homemade Garlic Butter Cheese Bombs
These Garlic Butter Cheese Bombs are soft, fluffy, and filled with gooey melted cheese. Coated in garlic butter and sprinkled with parsley, they’re a perfect snack, appetizer, or side for any meal. Easy to make and deliciously addictive!
- Prep Time: 10 minutes
- Cook Time: 12 minutes
- Total Time: 22 minutes
- Yield: 8 cheese bombs 1x
- Category: Appetizer, Side Dish, Snack
- Method: Baking
- Cuisine: American, Italian-Inspired
Ingredients
- 1 can (16 oz) refrigerated biscuit dough (8 biscuits)
- 4 oz mozzarella cheese, cut into 8 cubes
- 4 tbsp unsalted butter, melted
- 2 cloves garlic, minced
- 1/2 tsp Italian seasoning
- 1 tbsp fresh parsley, chopped (or 1 tsp dried parsley)
Instructions
-
Preheat the Oven:- Preheat your oven to 375°F (190°C). Line a baking sheet with parchment paper.
-
Prepare the Biscuits:
- Separate the biscuit dough into individual biscuits. Flatten each biscuit with your fingers to form a small circle.
-
Add the Cheese:
- Place one cube of mozzarella cheese in the center of each biscuit. Fold the edges of the dough up around the cheese, pinching to seal tightly and form a ball.
-
Bake:
- Place the cheese-stuffed dough balls seam-side down on the prepared baking sheet.
- Bake for 10-12 minutes, or until the biscuits are golden brown.
-
Make the Garlic Butter:
- While the cheese bombs are baking, combine the melted butter, minced garlic, and Italian seasoning in a small bowl.
-
Brush with Garlic Butter:
- Remove the cheese bombs from the oven and immediately brush each one generously with the garlic butter. Sprinkle with chopped parsley for garnish.
-
Serve:
- Serve warm for the best gooey cheese pull! Pair with marinara sauce for dipping, if desired.
Notes
- Add extra flavor: Sprinkle a bit of grated Parmesan cheese on top for an extra cheesy twist.
- Use different cheese: Try cheddar or pepper jack for a different flavor profile.
- Storage: Store leftovers in an airtight container in the fridge for up to 2 days. Reheat in the oven for best results.


