
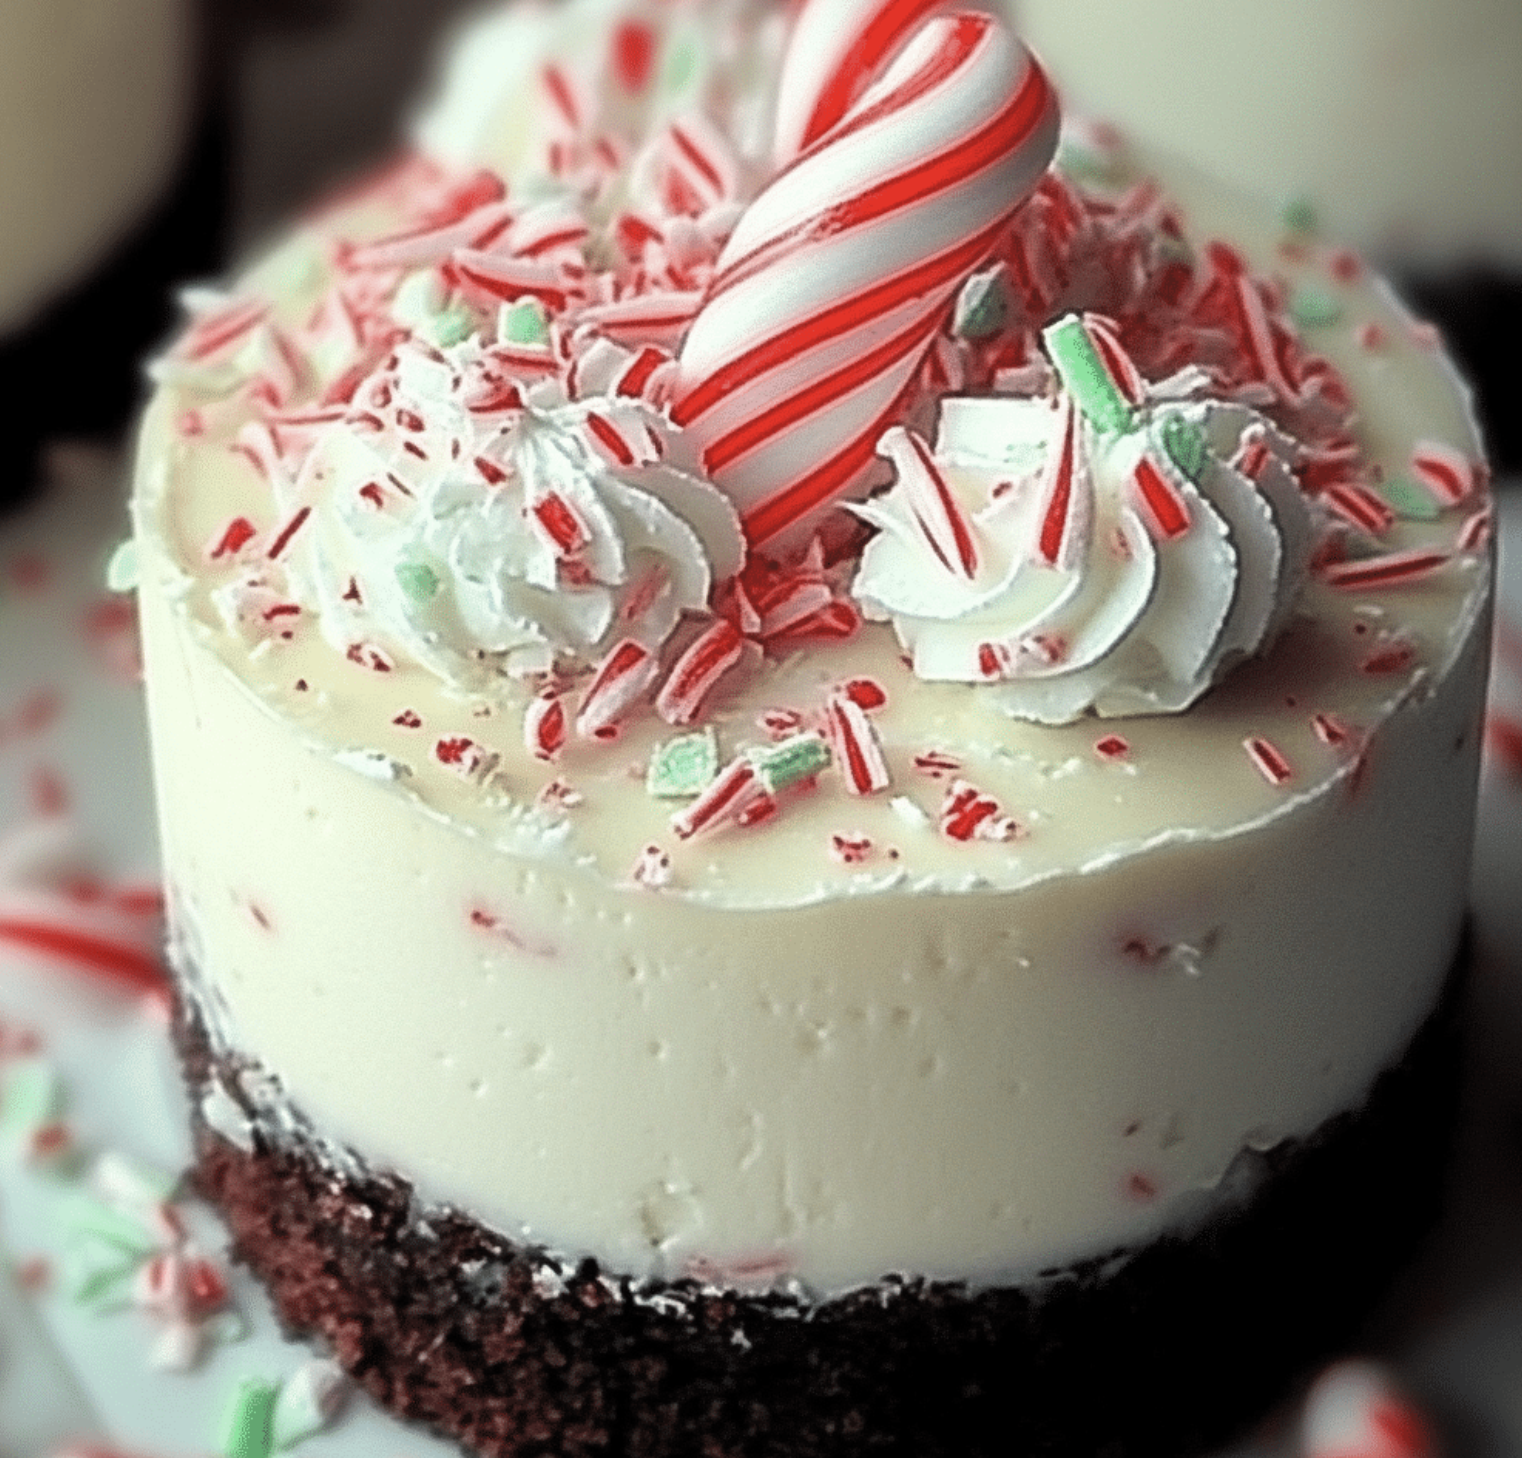
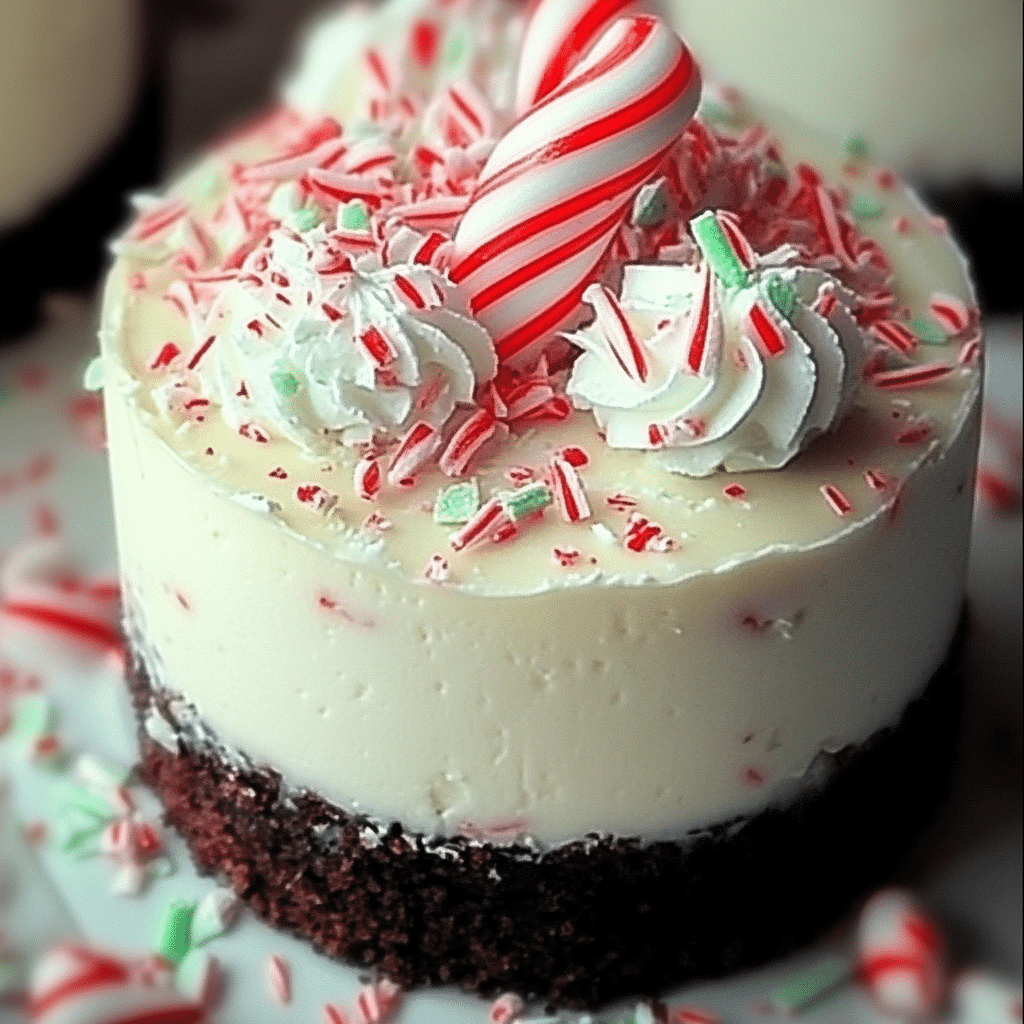
No-Bake Peppermint Cheesecake is a festive and creamy dessert that’s perfect for the holiday season or any time you crave a refreshing treat. With its cool peppermint flavor, velvety texture, and a hint of chocolate in the crust, this dessert is as easy to make as it is to enjoy.
Why You’ll Love This Recipe
- No Oven Required: A perfect dessert when you want to keep things cool.
- Festive and Refreshing: The peppermint flavor makes it a holiday favorite.
- Easy to Prepare: Simple steps and no complicated techniques.
- Beautiful Presentation: Its pale pink or white filling with crushed candy canes makes it stunning on any table.
- Customizable: Adjust the sweetness, crust, or decoration to suit your preferences.
Ingredients
(Tip: You’ll find the full list of ingredients and measurements in the recipe card below.)
For the Crust:
- Chocolate cookie crumbs (like Oreos)
- Unsalted butter (melted)
For the Filling:
- Cream cheese (softened)
- Powdered sugar
- Heavy whipping cream
- Peppermint extract
- Vanilla extract
- Red food coloring (optional, for a festive pink hue)
- Crushed candy canes (optional, for garnish)
For the Topping (Optional):
- Whipped cream
- Chocolate shavings or crushed candy canes
Directions
- Prepare the Crust:
- Mix the chocolate cookie crumbs with melted butter until the texture resembles wet sand.
- Press the mixture firmly into the bottom of a 9-inch springform pan or pie dish.
- Chill the crust in the refrigerator while preparing the filling.
- Make the Cheesecake Filling:
- In a large bowl, beat the cream cheese and powdered sugar until smooth and creamy.
- In a separate bowl, whip the heavy cream until stiff peaks form.
- Gently fold the whipped cream into the cream cheese mixture until fully incorporated.
- Add the peppermint extract and vanilla extract, adjusting to taste.
- If desired, add a few drops of red food coloring to create a pale pink hue.
- Assemble the Cheesecake:
- Pour the filling over the chilled crust, smoothing the top with a spatula.
- Sprinkle crushed candy canes or chocolate shavings on top for decoration.
- Chill:
- Refrigerate for at least 4–6 hours, or until the cheesecake is firm and set.
- Serve:
- Remove the cheesecake from the pan, slice, and serve with whipped cream or additional garnishes if desired.
Servings and Timing
- Servings: Makes 8–10 slices.
- Prep Time: 20 minutes
- Chill Time: 4–6 hours
- Total Time: 4 hours 20 minutes
Variations
- Oreo Crust: Use Oreo cookies for a richer chocolate crust.
- Mint Chocolate Chip: Fold mini chocolate chips into the filling for a mint chocolate twist.
- Gluten-Free: Use gluten-free cookies for the crust.
- Extra Peppermint: Add crushed peppermint candies into the filling for extra texture and flavor.
- Dairy-Free: Use vegan cream cheese, coconut cream, and plant-based whipping cream.
Storage/Reheating
- Storage: Store leftovers in an airtight container in the refrigerator for up to 5 days.
- Freezing: Freeze the cheesecake (whole or in slices) for up to 3 months. Wrap tightly in plastic wrap and foil, and thaw in the refrigerator before serving.
- Reheating: No reheating needed—this dessert is best served chilled!
FAQs
1. Can I use pre-made crust?
Yes, a store-bought chocolate or graham cracker crust works perfectly for this recipe.
2. Can I make this cheesecake ahead of time?
Absolutely! Prepare it a day in advance and refrigerate until ready to serve.
3. Can I skip the food coloring?
Yes, the food coloring is optional and does not affect the flavor.
4. What type of cream cheese should I use?
Use full-fat cream cheese for the creamiest texture.
5. Can I substitute peppermint extract?
If you prefer, you can use mint extract, but it has a slightly different flavor.
6. Can I make mini cheesecakes instead?
Yes, divide the crust and filling into muffin liners for individual servings. Adjust chilling time as needed.
7. How do I prevent lumps in the filling?
Ensure the cream cheese is fully softened before mixing for a smooth texture.
8. Can I use whipped topping instead of heavy cream?
Yes, you can substitute with whipped topping, but the flavor and texture may vary slightly.
9. Can I decorate it differently?
Absolutely! Use chocolate curls, sprinkles, or even a drizzle of melted chocolate.
10. What can I pair with this cheesecake?
Serve it with hot cocoa, coffee, or a glass of milk for a complete treat.
Conclusion
No-Bake Peppermint Cheesecake is a showstopping dessert that’s both easy to prepare and incredibly delicious. With its creamy texture and refreshing peppermint flavor, it’s perfect for holidays, special occasions, or anytime you want to impress. Make this simple yet stunning dessert and enjoy a slice of festive indulgence!
PrintNo Bake Peppermint Cheesecake
A cool and creamy no-bake peppermint cheesecake with a chocolate cookie crust, fluffy peppermint filling, and crushed candy cane topping — a festive holiday dessert that’s easy to make ahead.
- Prep Time: 20 minutes
- Cook Time: 0 minutes
- Total Time: 6 hours 20 minutes (includes chilling)
- Yield: 12 servings 1x
- Category: Dessert
- Method: No-Bake
- Cuisine: American
- Diet: Vegetarian
Ingredients
- 24 chocolate sandwich cookies (like Oreos), crushed
- 1/4 cup unsalted butter, melted
- 16 ounces cream cheese, softened
- 1 cup powdered sugar
- 1 teaspoon vanilla extract
- 1/2 teaspoon peppermint extract
- 1 1/2 cups heavy whipping cream
- 1/3 cup crushed candy canes (plus extra for topping)
- Red or pink food coloring (optional)
Instructions
- In a bowl, combine crushed cookies and melted butter until evenly moistened.
- Press mixture firmly into the bottom of a 9-inch springform pan. Chill in the refrigerator while preparing the filling.
- In a large bowl, beat cream cheese until smooth. Add powdered sugar, vanilla extract, and peppermint extract and beat until combined.
- In a separate bowl, whip heavy cream until stiff peaks form. Fold whipped cream into the cream cheese mixture until smooth. Gently fold in crushed candy canes and food coloring if using.
- Spoon filling into prepared crust and smooth the top.
- Refrigerate for at least 6 hours or overnight until firm.
- Before serving, sprinkle extra crushed candy canes on top for garnish.
Notes
- Use high-quality peppermint extract for the best flavor.
- Crush candy canes just before using to keep them from getting sticky.
- Store covered in the refrigerator for up to 4 days.
Nutrition
- Serving Size: 1 slice
- Calories: 420
- Sugar: 28g
- Sodium: 280mg
- Fat: 32g
- Saturated Fat: 18g
- Unsaturated Fat: 12g
- Trans Fat: 0g
- Carbohydrates: 35g
- Fiber: 1g
- Protein: 5g
- Cholesterol: 90mg