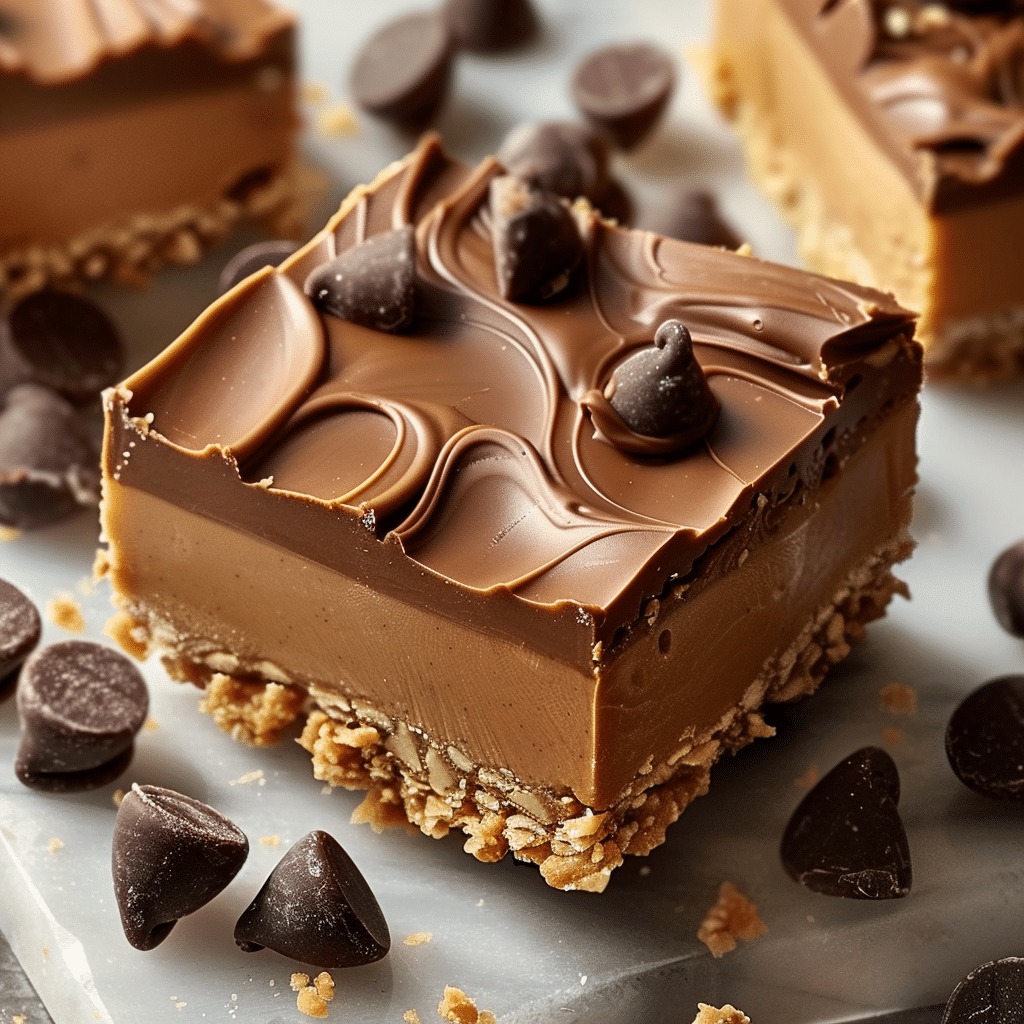
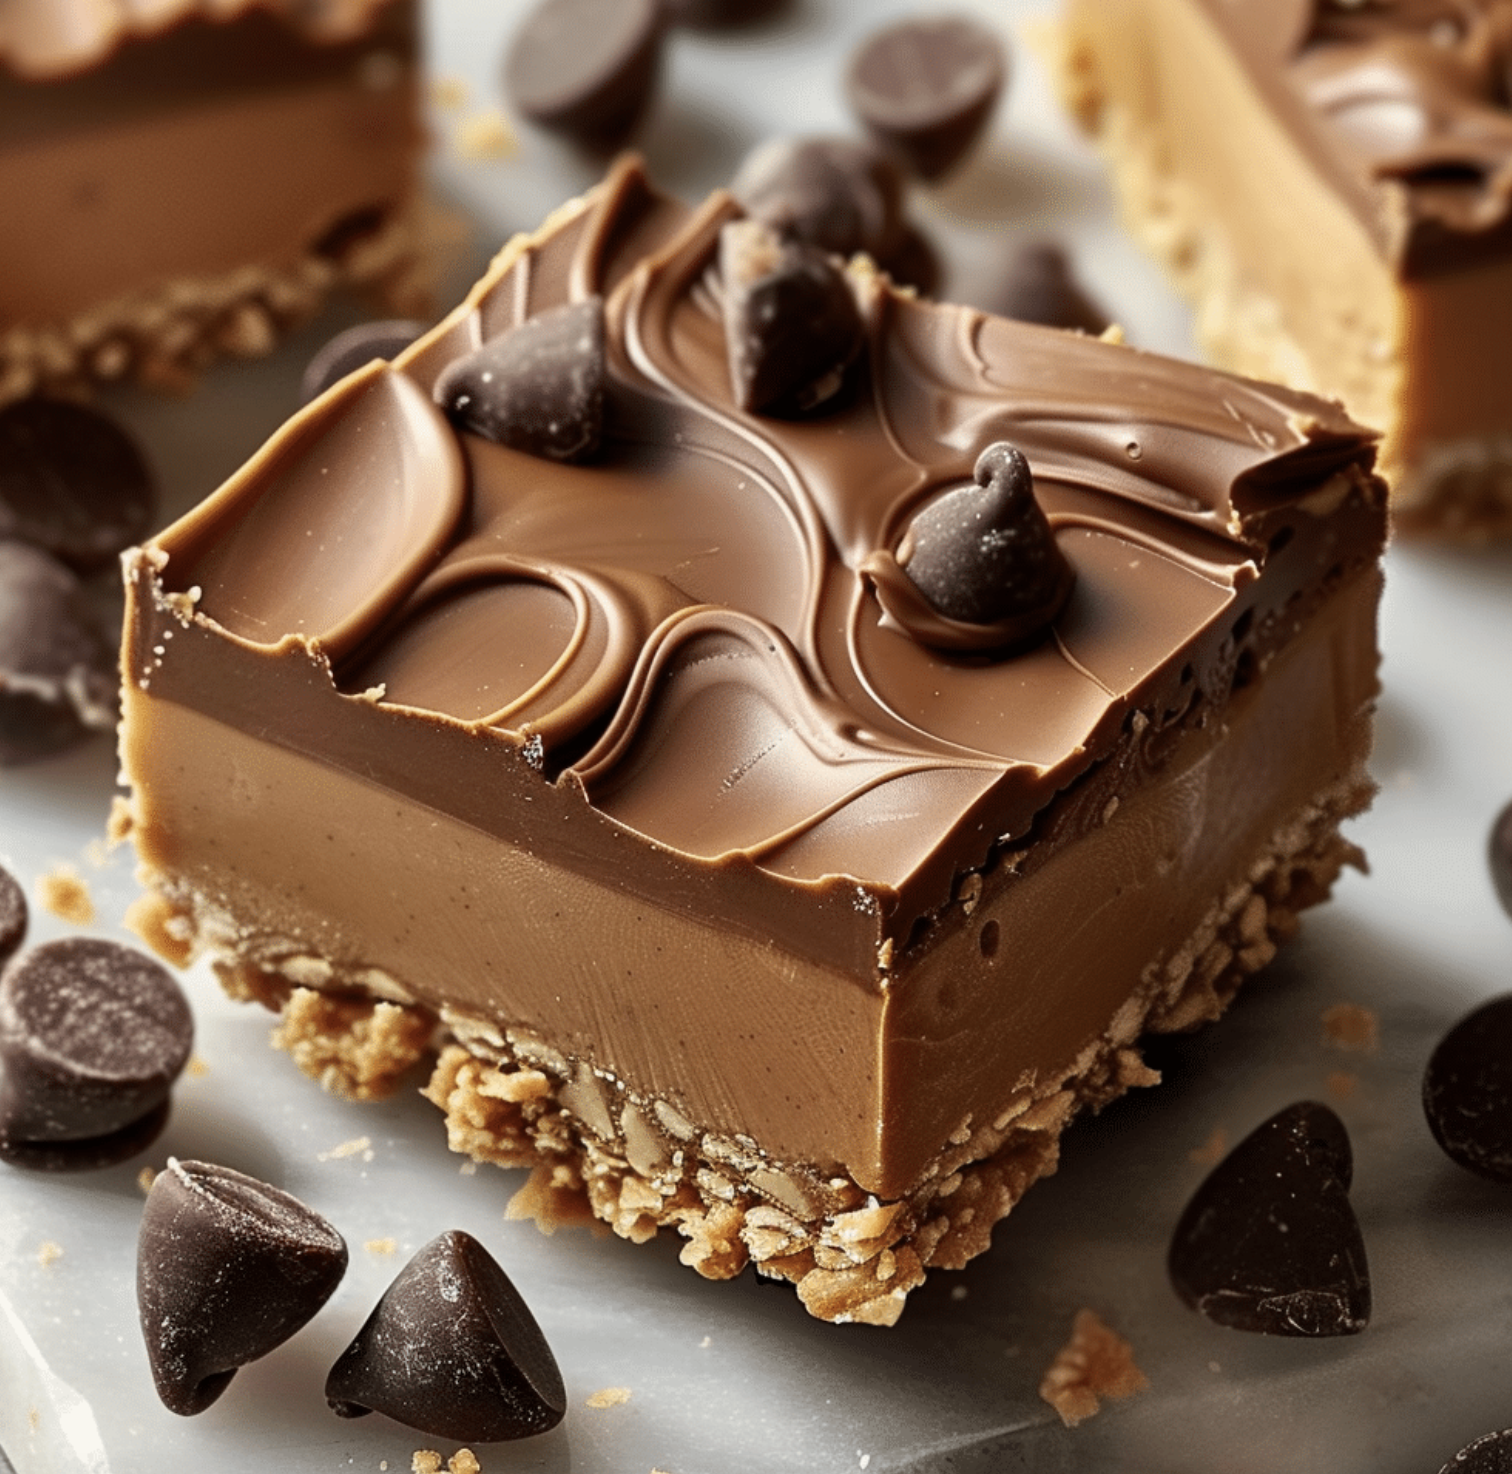
If you’re a fan of the irresistible combination of chocolate and peanut butter, you’re in for a treat! This Reese’s Peanut Butter No-Bake Bars recipe is not only quick and easy to make, but it also satisfies your sweet cravings without the need for baking. Perfect for parties, snacks, or just a cozy evening at home, these bars are sure to become a family favorite.
Why You’ll Love This Recipe
- No-Bake Convenience: One of the best features of this recipe is that it requires no baking! You can whip up these bars in just a few minutes, making them an ideal choice for last-minute desserts.
- Rich Flavor: With a delightful blend of creamy peanut butter, chocolate, and a buttery graham cracker crust, these bars deliver a rich and indulgent taste that mirrors the iconic Reese’s Peanut Butter Cup.
- Customizable: Feel free to get creative! You can add toppings like crushed nuts, mini chocolate chips, or even a drizzle of caramel for an extra layer of flavor.
Ingredients
To make your Reese’s Peanut Butter No-Bake Bars, you’ll need the following ingredients:
- For the crust:
- 1 ½ cups graham cracker crumbs
- ½ cup unsalted butter, melted
- ¼ cup granulated sugar
- For the filling:
- 1 cup creamy peanut butter (or crunchy, if preferred)
- 1 cup powdered sugar
- 1 teaspoon vanilla extract
- For the topping:
- 1 cup semi-sweet chocolate chips
- 2 tablespoons coconut oil (optional, for smoothness)
Instructions

Step 1: Prepare the Crust
- In a mixing bowl, combine the graham cracker crumbs, melted butter, and granulated sugar. Mix until well combined.
- Press the mixture firmly into the bottom of a greased 9×9-inch baking pan to form an even layer. Set aside.
Step 2: Make the Peanut Butter Filling
- In a separate bowl, mix the creamy peanut butter, powdered sugar, and vanilla extract until smooth and creamy.
- Spread the peanut butter mixture evenly over the graham cracker crust, smoothing the top with a spatula.
Step 3: Melt the Chocolate Topping
- In a microwave-safe bowl, combine the semi-sweet chocolate chips and coconut oil (if using).
- Microwave in 30-second intervals, stirring in between, until the chocolate is completely melted and smooth.
- Pour the melted chocolate over the peanut butter layer, spreading it evenly to cover the entire surface.
Step 4: Chill and Serve
- Refrigerate the bars for at least 2 hours, or until the chocolate has set.
- Once firm, remove from the pan and cut into squares or bars.
- Serve chilled and enjoy the delightful combination of chocolate and peanut butter!
Tips for Success
- Storage: Keep the bars in an airtight container in the refrigerator for up to one week. They can also be frozen for longer storage—just make sure to separate layers with parchment paper.
- Serving Suggestions: These bars are perfect for parties, potlucks, or as a sweet treat after dinner. Pair them with a glass of cold milk or a scoop of vanilla ice cream for an extra indulgent dessert!
Conclusion
These Reese’s Peanut Butter No-Bake Bars are a quick and easy way to enjoy a classic flavor combination without turning on the oven. Whether you’re preparing a dessert for a gathering or simply treating yourself, these bars will impress everyone with their rich taste and creamy texture. Give this recipe a try and discover a new favorite sweet treat that requires minimal effort and maximum flavor!
Sure! Here’s a detailed section on Serving and Storage Tips for the Reese’s Peanut Butter No-Bake Bars:
Serving and Storage Tips
Serving Tips
- Chill Before Serving: For the best texture and flavor, ensure the bars are fully chilled before serving. This allows the chocolate topping to set properly and makes cutting easier.
- Presentation: Cut the bars into squares or rectangles for a beautiful presentation. You can also place them on a decorative platter and garnish with crushed peanuts or drizzled chocolate for an eye-catching look.
- Pairing Suggestions: Enhance the dessert experience by serving these bars with:
- A glass of cold milk or a warm cup of coffee to balance the sweetness.
- A scoop of vanilla ice cream for a decadent dessert.
- Fresh fruit like strawberries or bananas for a refreshing contrast.
- Portion Control: These bars are rich, so consider cutting them into smaller pieces for a satisfying treat without overindulging.
Storage Tips
- Refrigeration: Store the bars in an airtight container in the refrigerator. This will keep them fresh and maintain their texture for up to one week.
- Freezing: For longer storage, these bars can be frozen. Wrap each bar individually in plastic wrap and then place them in a freezer-safe container or a zip-top bag. They can last up to three months in the freezer.
- Thawing: When ready to enjoy, remove the bars from the freezer and let them thaw in the refrigerator for a few hours before serving. For a quicker option, you can leave them at room temperature for about 30 minutes.
- Avoid Moisture: To prevent the chocolate from becoming sticky or losing its texture, make sure the container is airtight and stored away from moisture.
By following these serving and storage tips, you can ensure that your Reese’s Peanut Butter No-Bake Bars stay delicious and enjoyable for as long as possible!
1. Can I use crunchy peanut butter instead of creamy?
Yes, you can definitely use crunchy peanut butter if you prefer a bit of texture in your bars. It will give the bars an extra crunch and enhance the peanut flavor. Just keep in mind that it may slightly change the overall consistency of the filling.
2. How do I make these bars vegan or gluten-free?
To make these bars vegan, use a plant-based butter substitute and ensure that the chocolate chips are dairy-free. For a gluten-free version, substitute the graham cracker crumbs with gluten-free graham crackers or use crushed gluten-free cookies. Check the labels of all ingredients to ensure they meet your dietary needs.
3. Can I add mix-ins to the peanut butter filling?
Absolutely! Feel free to customize your bars by adding mix-ins like mini chocolate chips, crushed nuts, or even shredded coconut to the peanut butter filling. Just keep in mind that adding too many mix-ins might alter the texture and setting of the bars.
4. How do I know when the bars are set and ready to serve?
The bars are ready to serve when the chocolate topping is firm and has set properly, which usually takes about 2 hours in the refrigerator. You can check the firmness by gently pressing on the chocolate; if it doesn’t leave an impression and feels solid, they are ready to enjoy. If they’re still soft, give them more time in the fridge.
Reese’s Peanut Butter No-Bake Bars
These Reese’s Peanut Butter No-Bake Bars are rich, creamy, and loaded with peanut butter and chocolate layers. Made with simple ingredients, these bars taste just like a Reese’s cup and are perfect for a quick and easy dessert or snack!
- Prep Time: 10 minutes
- Cook Time: 1 hour
- Total Time: 1 hour 10 minutes
- Yield: 16 bars 1x
- Category: Dessert, No-Bake
- Method: No-Bake, Mixing
- Cuisine: American
Ingredients
- 1 cup (240g) creamy peanut butter
- 1/2 cup (115g) unsalted butter, melted
- 1 1/4 cups (150g) powdered sugar
- 1 1/2 cups (180g) crushed graham crackers
- 1 1/2 cups (270g) semi-sweet or milk chocolate chips
- 2 tbsp creamy peanut butter (for topping)
Instructions
-
Prepare the Peanut Butter Layer:
- In a medium mixing bowl, combine 1 cup of peanut butter, melted butter, powdered sugar, and crushed graham crackers.
- Stir until well combined and smooth.
- Press the mixture evenly into the bottom of an 8×8-inch baking pan lined with parchment paper.
-
Make the Chocolate Topping:
- In a microwave-safe bowl, combine the chocolate chips and 2 tablespoons of peanut butter.
- Microwave in 20-second increments, stirring between each, until melted and smooth.
-
Assemble the Bars:
- Pour the melted chocolate mixture over the peanut butter layer in the pan, spreading it evenly with a spatula.
-
Chill and Set:
- Refrigerate for at least 1 hour, or until the bars are firm and set.
-
Cut and Serve:
- Once set, lift the bars out of the pan using the parchment paper and cut into squares.
- Serve and enjoy!
Notes
- Add a crunch: Use crunchy peanut butter or add chopped peanuts to the peanut butter layer for added texture.
- Storage: Store in an airtight container in the refrigerator for up to 1 week, or freeze for up to 2 months.


